Showing posts with label the more you know. Show all posts

Monday, May 20, 2013

Return to normal programming! (?) And some nails!

Hey guys! I was a little burned out for a while there with the full on blogging, and I was finding it easier to just do quick uploads to Tumblr and Beautylish instead of writing full blog posts here. I'm still not 100% sure if I am going to be bringing this blog back to full speed or if I will go with Tumblr only. Since my work hours have changed (making it harder to get daylight pictures with my camera) and I got an iPhone (which means I can at least snap decent pics at work when there's light and then upload them from my phone) it changed the dynamics of my posting. Typing out a whole blog post on an iPhone is not fun!

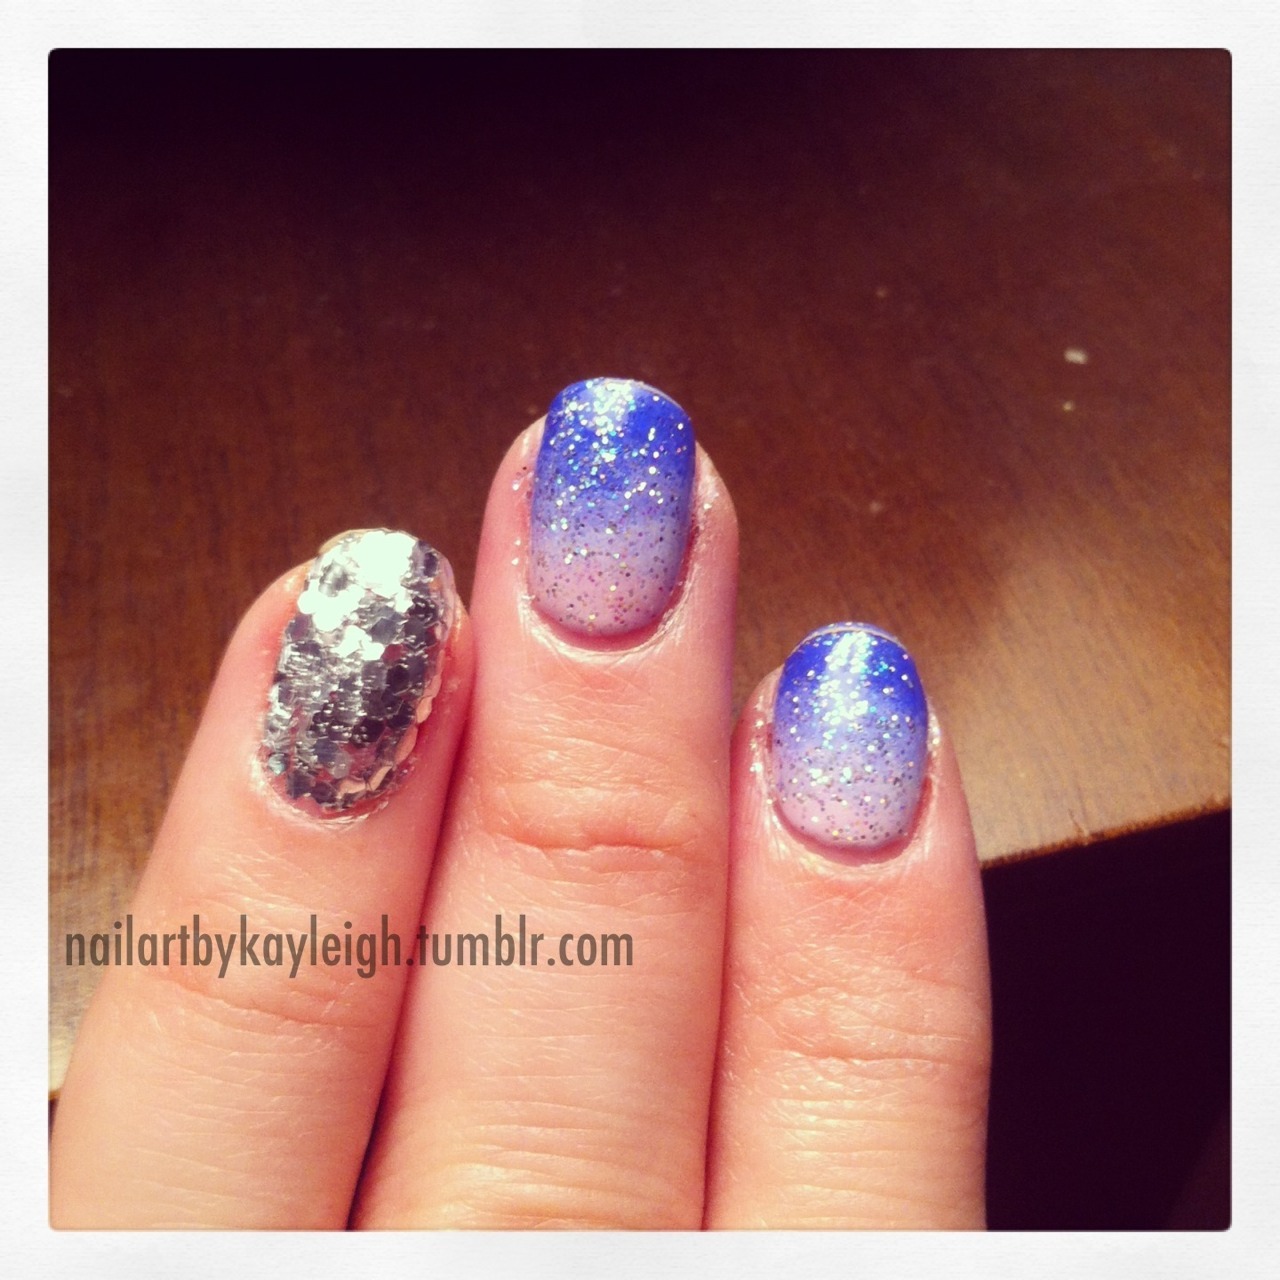
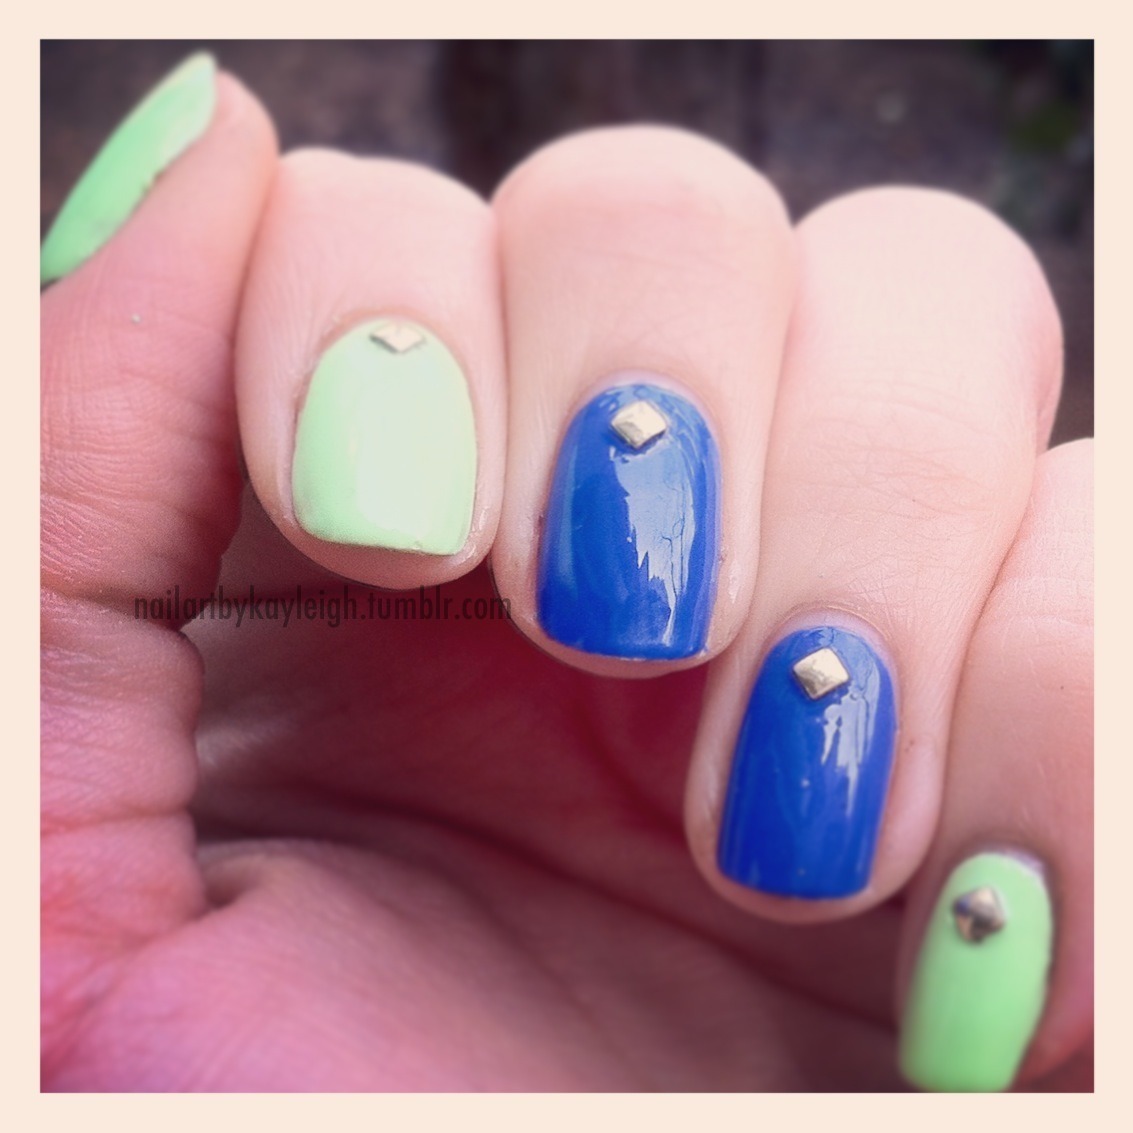
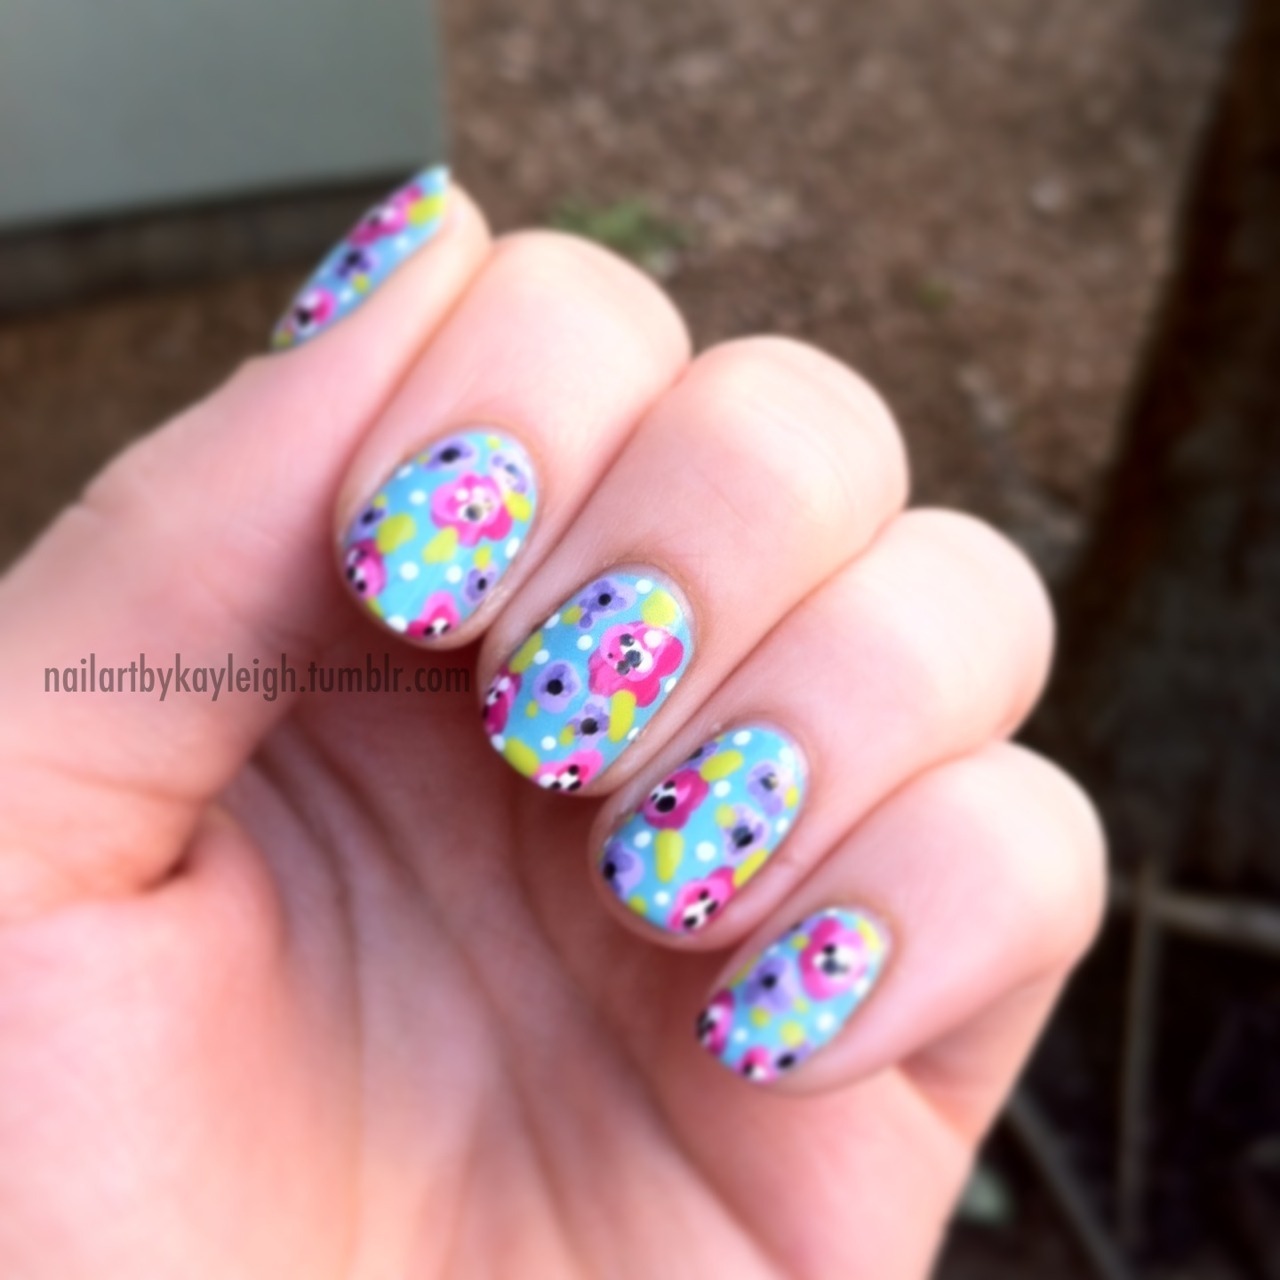
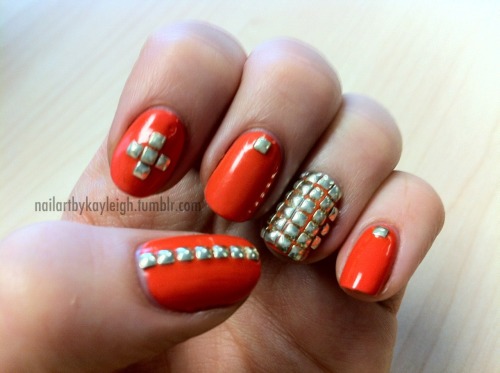
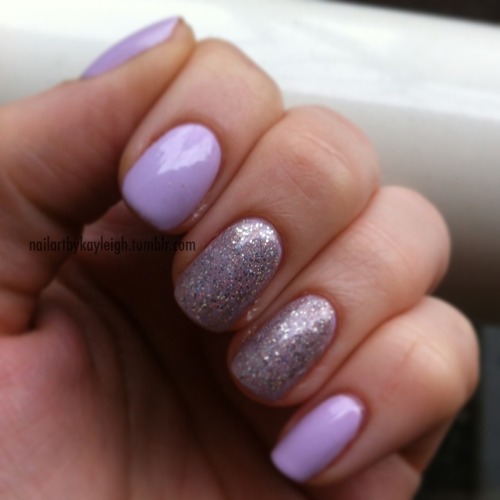
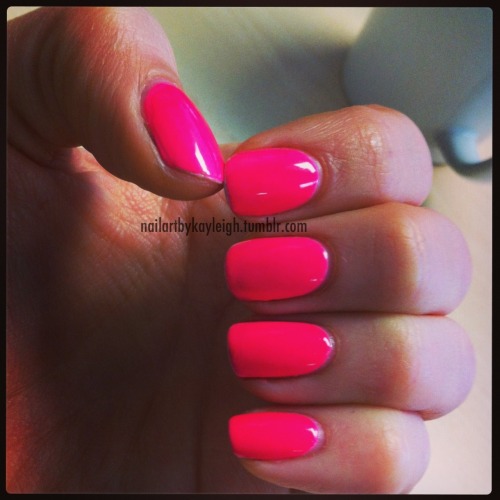
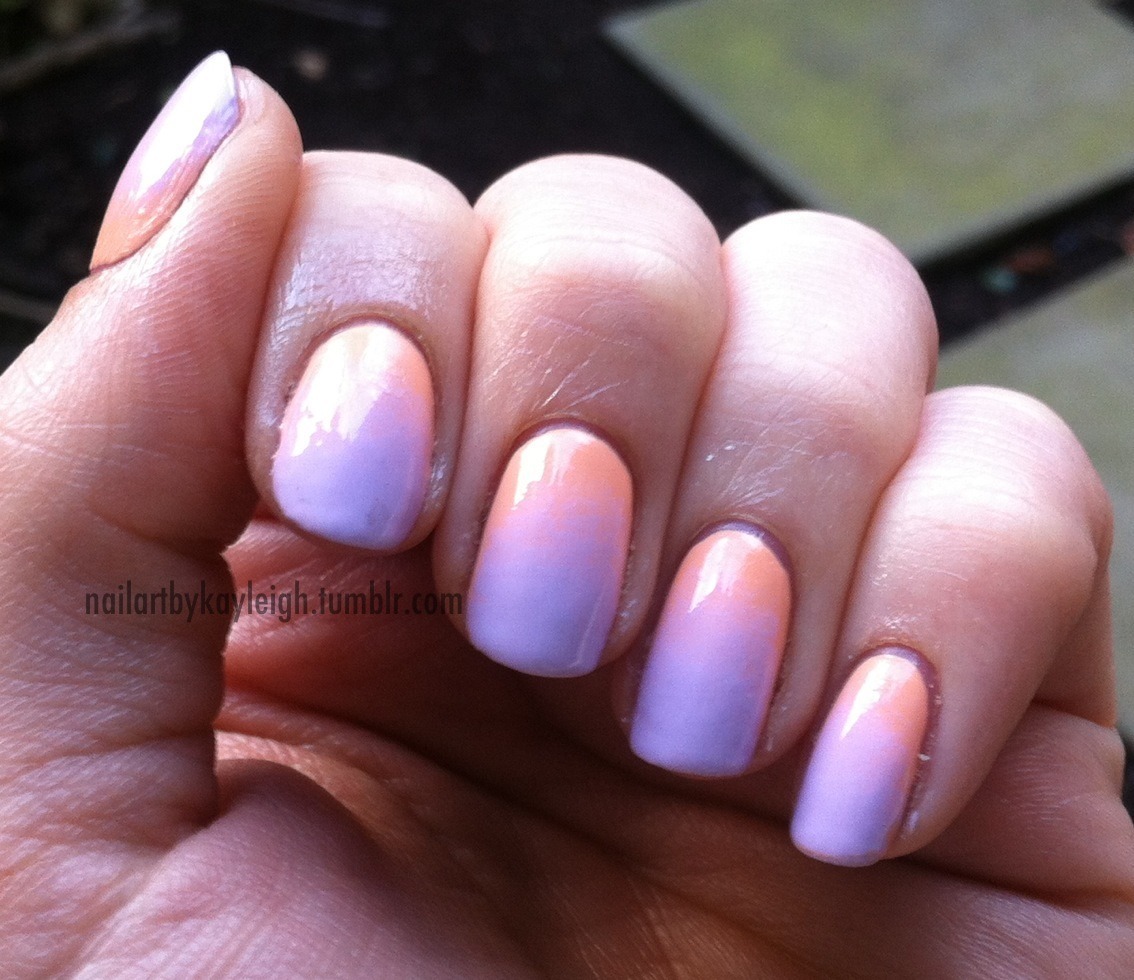
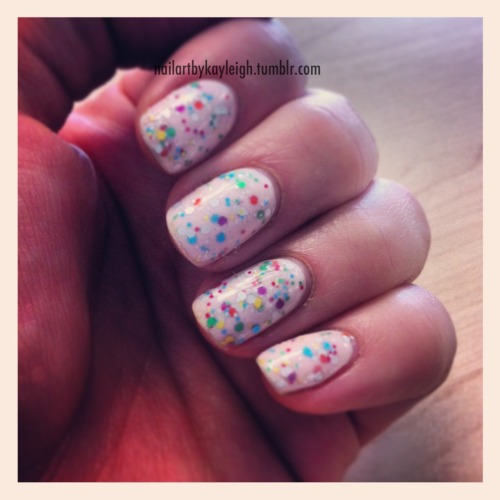
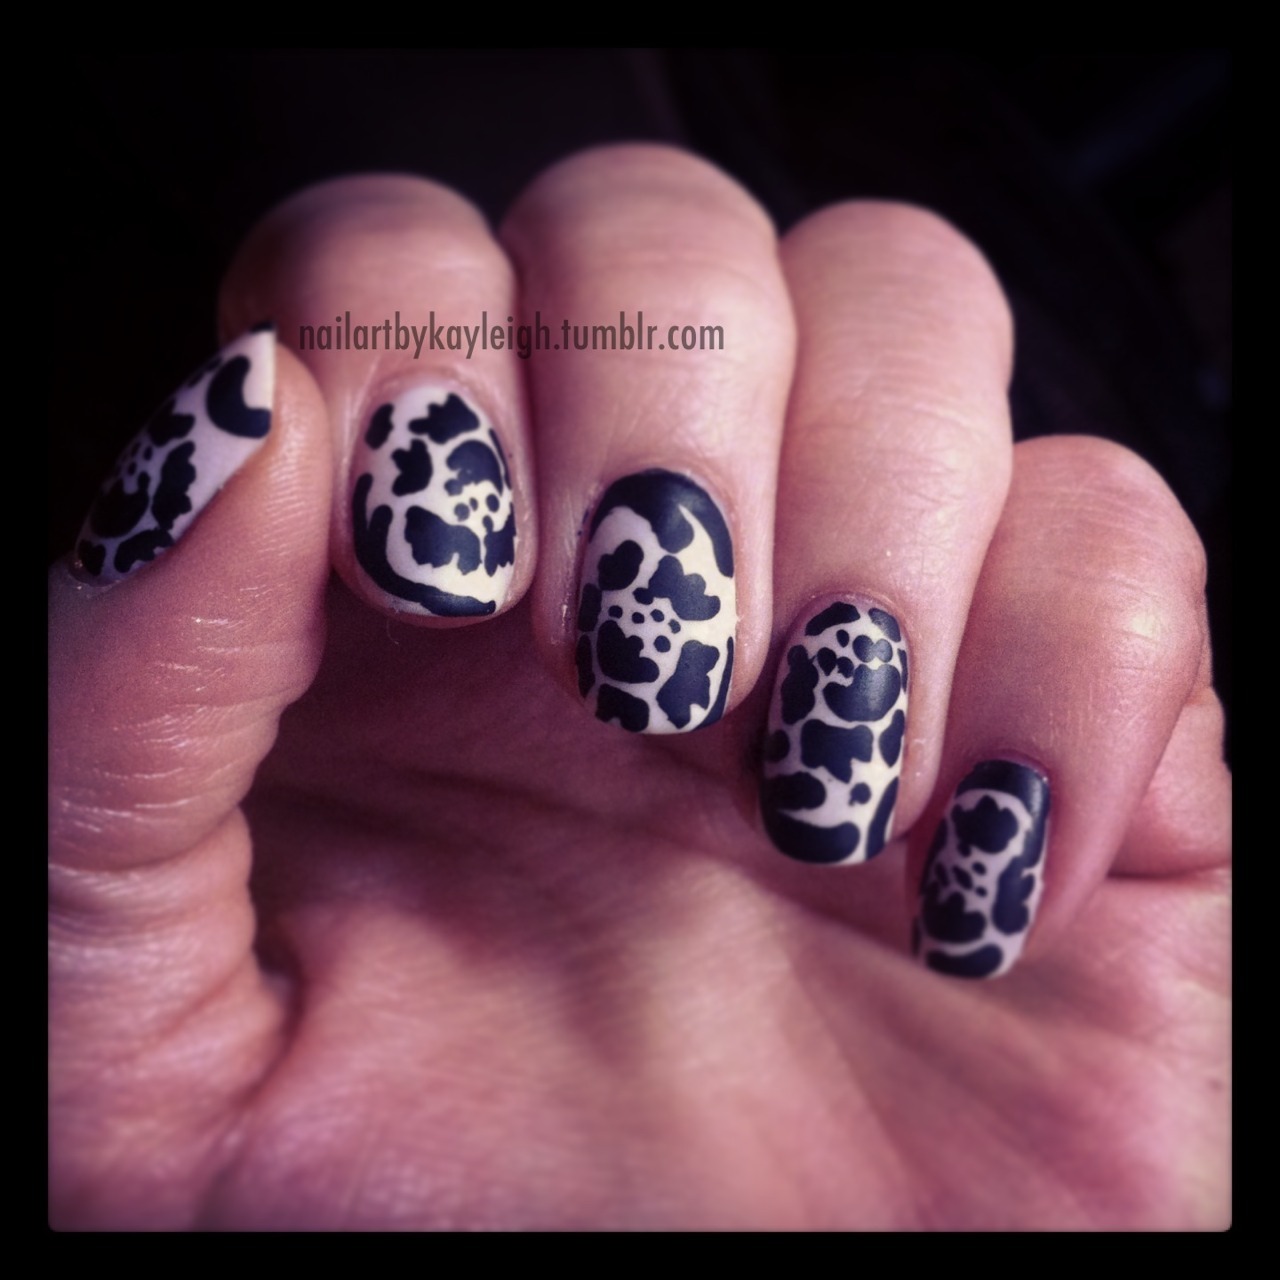
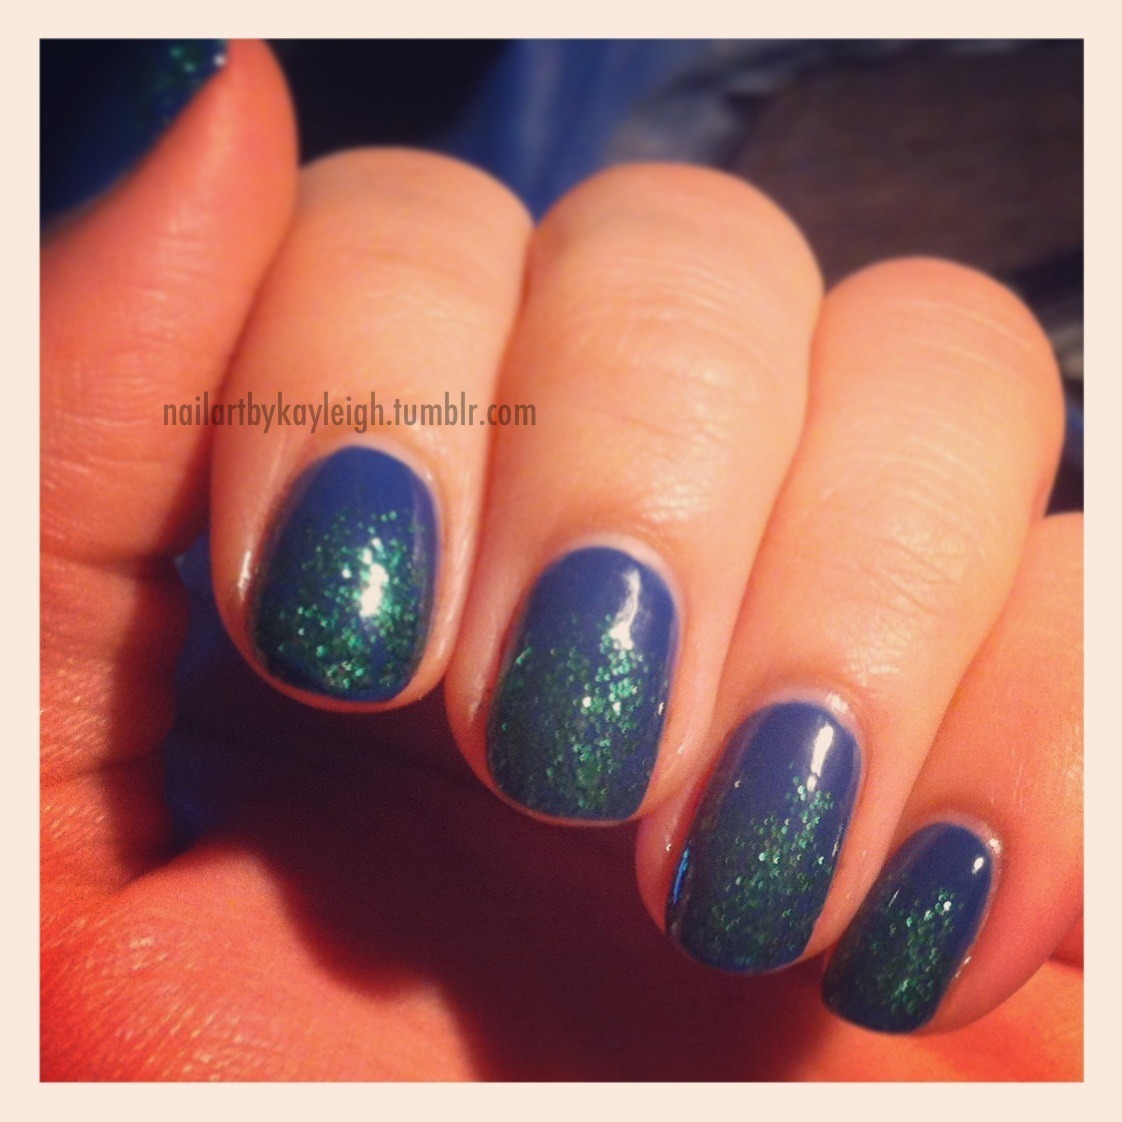
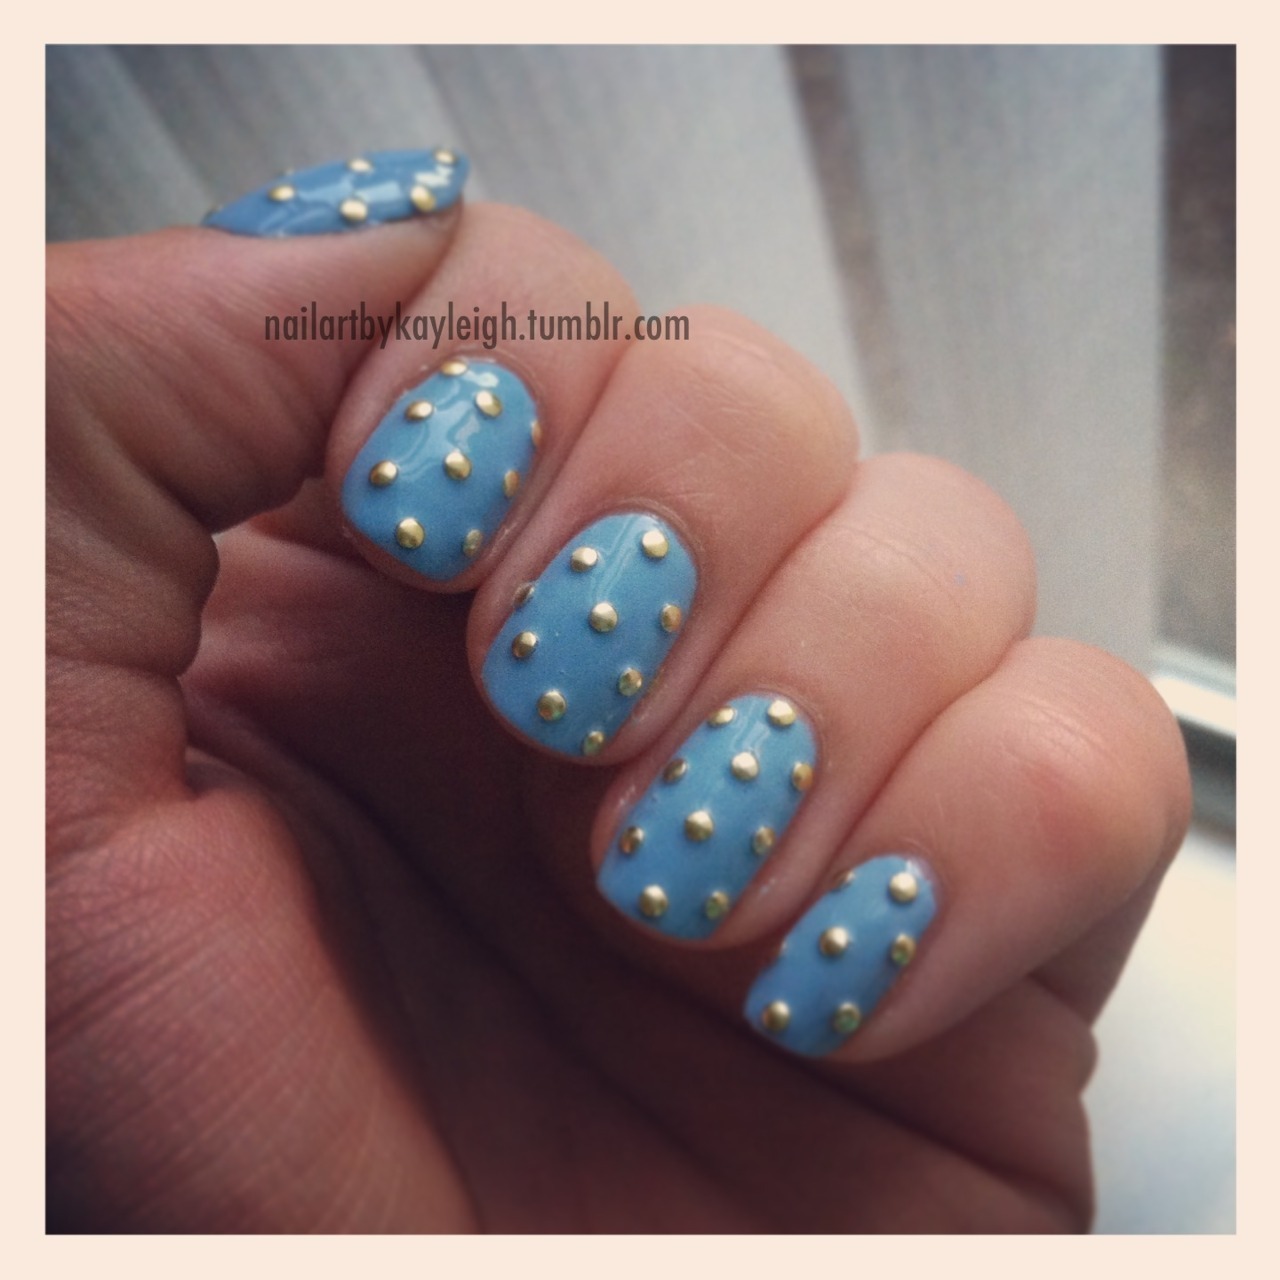
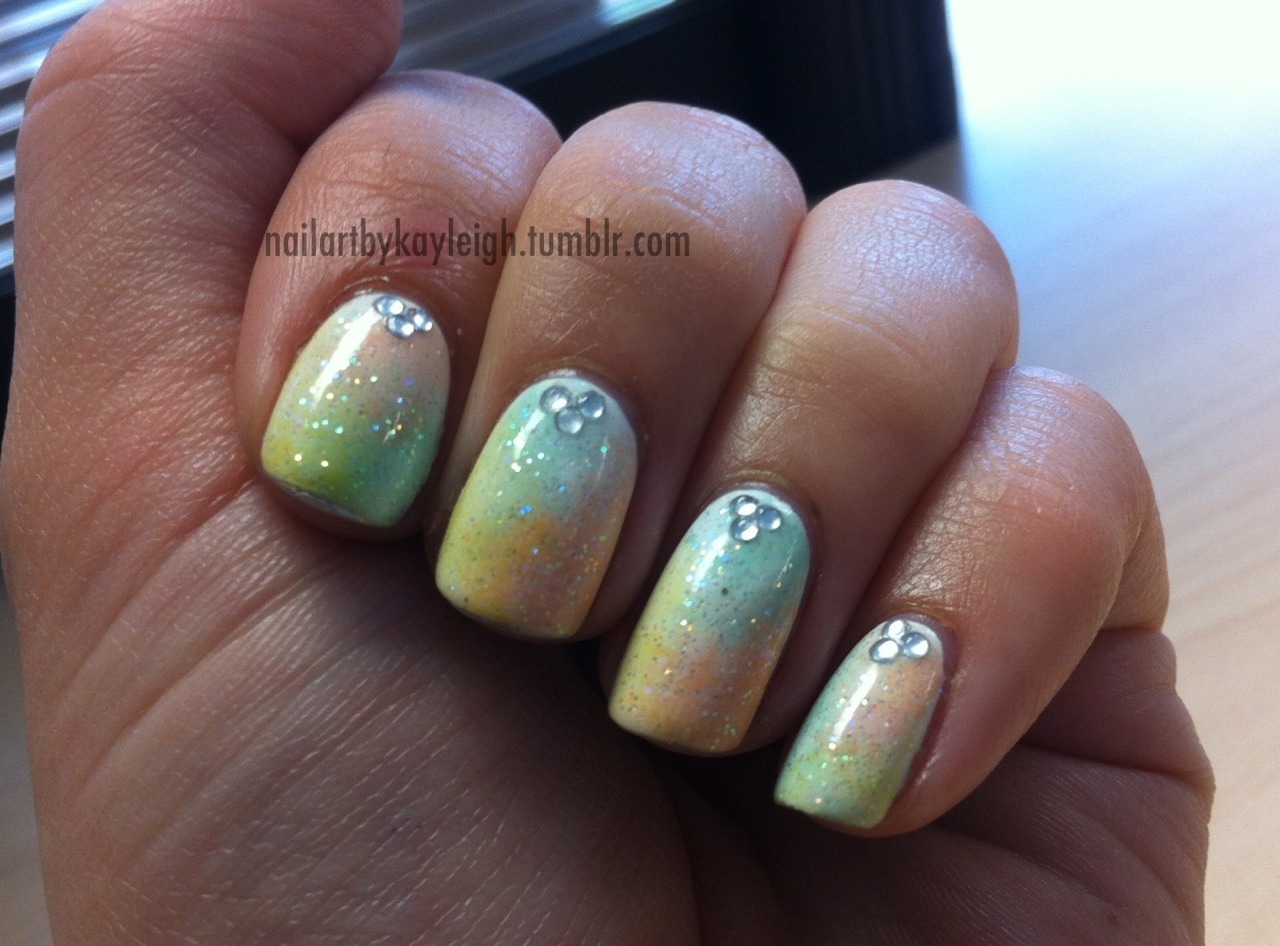
For now, here's some pics of what's been on my nails since the last time I updated. If you aren't following already, check me out on Tumblr! I'm also on Beautylish! :)


As you can see, I've been far from inactive as far as nails go! I can't definitively promise regular updating on here, so please come follow my Tumblr or my Beautylish page. :) See you around!

Wednesday, January 09, 2013

Top 12 Manicures of 2012

I did this last year for 2011 and meant to get it done sooner for 2012, but better late than never! It's always fun to look back and remember manis you were really excited about!

These are all my personal favourites out of the manicures I did in the past year. :) It was so hard to narrow it down to 12, I looked back and really loved a lot of the manis I did this year! It was also harder than 2011 because I only started doing nail art in June of 2011, but this time I had a full year of designs to pick from! According to my count, I did 81 manicures in 2012!

These aren't in any particular order except going from earliest in the year to most recent!


Monday, November 26, 2012

Current Basics & BeautySets!

Hey guys! This post was my first creation using an awesome new site I heard about called BeautySets! It's kind of like Polyvore for beauty products, and it has tons of premade templates that let you put in your own words and pictures in a magazine style layout! I really love how it looks and I think I will definitely be using it again!

This is a breakdown of all the basic products I'm currently using! Hope you enjoy! :)

Friday, November 23, 2012

Black Friday Sale!

Doing a Black Friday Sale at my Etsy this weekend, til Sunday night only! 30% off everything if you use the coupon code BLACKFRIDAY2012 at checkout!

:)

Nail Art by Kayleigh


Wednesday, November 21, 2012

Improved tags!

Last night I finally updated some of my tags, which all my different manicures were badly needing! There are now several categories including floral, animal, food and gradient. Check them out in the tag cloud in the right hand column. Now it should be much easier to check out past manicures I've done! :)

Wednesday, August 22, 2012

New look!

Hey everyone! You may have noticed it looks a little different around here! I was still in love with my old layout but I really wanted to do something new, and when I saw this awesome zebra background from the Cutest Blog on the Block (check out their site in the top corner of the page) I had to have it! I played around with the options on Blogger and thought the chartreuse shades would go perfectly with it - even whipped up a new header! Hope you like!

:)

Tuesday, July 17, 2012

Small absences!

Hey folks! Just a quick note to let you know - the reason I haven't posted lately is because my poor camera suddenly stopped working this past weekend!! Luckily I have been able to buy a newer (and much better!) one, so I should be posting a new manicure by this weekend - and after that I'll be going on vacation for a week to Disneyland!!! So expect a Disney themed manicure coming up before I leave!

Friday, April 20, 2012

A nail polish survey!

 So I'm the kind of losery-loser who actually Googles "nail polish survey" to find something to do. No, I didn't stumble across this on a blog - I actually sought it out! LOL But here we are, I had fun filling this out!! Hope you enjoy reading!

How many polishes do you have in your stash?
Last time I counted it was at juuust under 99 (including 2-way nail art polishes) so I can safely say by now I have somewhere in the neighborhood of 115-125.

Which brand do you own the most of?
I would guess probably Sally Hansen, especially since they have so many different lines of polishes!

What colors do you own the most of?
Pinks and blues.

Do you have a color/texture you do not own?
Holographic! I don't own a single one even though they're so trendy!

What's the one polish you always pick up to lift your spirits?
Something sparkly, I really like to top almost anything with LA Girl Glitter Addict in Explosion - big silver hex glitter with small speck silver glitter.

What polish do you keep looking at and wondering why you haven't gotten rid of it yet?
There's a couple, mostly ones that were all thick and gummy and almost empty, to the point where even if I fixed them with thinner I can barely get the brush to touch the polish, and then I buy a new bottle of the same shade but still don't throw out the old bottle. Sad to say this is the case for a few shades! Finally ditched one the other day but it was only a start...

Franken any? or I'm nervous to try it?
Not yet... I guess it sounds intriquing but I'm not yet bored enough with the polishes I have to try to create new ones!

Do you franken for new/original polish ideas or franken for polish you won't be able to own?
If I did franken I would probably try to create new shades - I might try to recreate a HTF if some really obvious mix popped out at me though.

Go-to Base Coat?
Sally Hansen one... Insta-something LOL I don't look at it that closely! It's in a clear bottle with a red cap.

Go-to Top Coat?
Sally Hansen Insta-Dri Topcoat. I've never used Seche but from what I've read about it, it sounds exactly like this stuff but the SH is cheaper.

What's your sexiest polish?
Hmmm I don't know really!! I think my personal definition of sexy is a little different... I don't know if I would pick any of my polishes off the top of my head but when I think of "sexy" polish I think of a bright (but not neon) pinkish-coral shade contrasting tanned skin, I love the look of that. So, yeah! :p

Nail Design:

Stamping vs Free Hand?
Free hand! At one time I badly wanted to get a Konad kit but as time has worn on I'm kind of glad I didn't, I prefer the freedom of creativity you have with freehand art and the satisfaction you get from executing a design well and seeing your skills improve over time!

Bling me, baby? or No bling for me, please!
Bling is fun!! I've got some rhinestones and plenty of glitter polishes! Next to creme, glitter is my favourite polish finish!

I consider my nails basically nekkid if they don' t have some kind of design?
Most of the time! LOL Yesterday was the first day I'd worn a solid nail colour in probably about 9 months! I think I want to get into the habit more often though... I'd like to rotate nail art and plain polish, since I do have so many lovely shades that should get to shine on their own!

My favorite plate/tool/technique?
My favourite technique would have to be glitter gradients, leopard (FYI - I based my most recent incarnations of freehand leopard print on what the Konad leopard print looks like! It's so easy, try it!!) and sponge gradients. I'm not interested in water marbling personally!

What I haven't tried and want to within the month?
Oooh good one!! I make no promises about how soon I will actually try these but I have aspirations for tape nail art - I did actually try it once, disaaaster! I learned to let a day pass between polishes just to be on the safe side!

Purchase/Lemmings:

The one elusive polish you want and can't seem to get?
GOSH Holographic - I guess I figure if I'm gonna try the trend I want to start with the original! But goood luck! LOL

What was the last nail related thing you bought?
I bought a new bottle of top coat today.

How many nail related hauls have you bought in the last 7 days (on-line/in-person)?
Just that one actually!

If you've ever been on a no-buy, how long did it last? Is that what you planned?
LOLwut? (read: nope!)

(and one question to grow on) Hobby? Addiction? Compulsion? Passing Fancy? Love?
Hobby for sure, addiction aaalmost (I can sometimes restrain myself quite well). Love, yes!! It's lovely to have something that's a creative outlet for me that I can carry with me everywhere and share with everyone I meet!

Tuesday, April 03, 2012

NOTD Apr 3/12 - Blue dot gradient, Autism Awareness

*EDIT: Just wanted to add a little note here to anyone who happened to see the lovely little note someone left on this on Tumblr... I could let it get me down and make me upset, and to be honest at first I did. People don't realize, or choose not to realize, that when you say something mean and unnecessary online, you're not just saying it to no one - there's another person getting that message. Another human being. I find it sort of incredible (and incredibly disappointing) how easily people take the license to be cruel and pointlessly mean over the internet, simply because it's anonymous. I find that kind of behaviour just as sad in real life, but on the internet it also just comes across as... cowardly.

I do know however, that 99% of people who saw this manicure would see it for what it was meant to be - just a simple manicure that happened to be related, however loosely, to a good cause, a cause I wanted to bring attention to in some small way, and really I only tied this mani into the whole Autism Awareness thing because of Kimber's very moving blog post anyways... she had more to say about it than I ever could and I wanted to say, "I recognized that, I heard that, and I think you're very strong.", basically. That was what mattered and I don't intend to let negativity obscure that. I guess I can just finish up by saying I honestly wish a lot of future happiness for people like that... people tend to like to make those around them feel the way they do. Happy people try to spread happiness and make others happy, and miserable people... well, you get the point. The world would be better off if more people were happier, so if randomly attacking people you don't know a single thing about makes you happy.... carry on I guess.... let's see how well that works out for you.

------

I did this mani last night just wanting to try out this dot gradient design, and use one of the new Essence polishes I bought. I realized after I did the mani that because of the colour, it really fits perfectly with the all of the blue Autism Awareness manicures for the month of April that have been all over the polish blogosphere recently. Now, I don't want to pretend that this was pre-planned because that wouldn't be honest - I only noticed the connection afterwards. And there isn't much I can say on the subject except that I agree, there needs to be more awareness about this, and about many, many issues. People just need to be more aware of the world around them in general - it would make this world a better place to live in.

On the subject of Autism specifically, I want to point you to this great manicure and touching story that Kimber of Kimber's Lacquer Korner posted today, about her daughter who is on the Autism Spectrum. If anything about my manicure even unintentionally causes someone to be more aware and informed about Autism, then that's fantastic - but this woman has a true purpose and a true connection to the disorder and you should all read her story (and check out her awesome mani!).

Anyways, without further ado this is my accidental Autism awareness manicure that I created last night. I've been wanting to try a gradient manicure with polka dots for a while - simple, but striking design.

Colours used:
Essence in Walk on Air
Sally Hansen Insta-Dri in Whirlwind White
(in between colours on the gradient were mixtures of the two polishes)

Thursday, December 08, 2011

Gift Ideas for All the Ladies!

This time of year, there's really no shortage of amazing beauty related gifts for anyone on your list, but not all beauty lovers were created equal! Different strokes for different folks, if you will! I've trolled through many of the offerings available and found things that would work well for all the people on your list. Check them out!

For "The Natural Beauty":


Sephora Favourites Collection Beauty and the Bride - A makeup collection targeted towards brides works perfectly for lovers of the natural makeup look. Bridal makeup is all about being soft and natural, so why shouldn't anyone cop that look too? This is an incredibly well-rounded set that comes with everything from mascara, lipstick and eyeshadow to nail polish, primer, blotting sheets and perfume! It even includes a voucher for a complimentary special occasion makeover at Sephora! At only $50 it's a hell of a bargain too!

For "The Makeup Newbie Teen":


Hello Kitty Noir Eyeshadow and Lip Gloss Palette - Maybe she's your sister, niece, cousin or a family friend - but she's young and she's just getting into makeup! Something fun and cute combined with a range of colours for her to experiment is perfect for a girl this age! This adorable palette comes packaged inside Hello Kitty herself and has 25 shadows and 10 glosses for her to try out, along with a double ended brush! $34 makes it an excellent value too!

For "Mama Dearest":
Tarte Radiant & Rested: Volume II Universal Complexion & Color Collection - The more skin ages, the more TLC it needs, so mom will appreciate a beauty bundle that gives her glow some real oomph! This package from Tarte maximizes skin radiance and will make her look glowy and fresh. It comes with all sorts of highlighting and glow-enhancing products like blush, eye brightener pencil and a skin brightening, illuminating serum. $42 is all you'll pay for this beauty!

For "The Drama Queen"
Too Faced Smokey Eye Shadow Collection - The drama queen loves smokey eyes and daring looks, and this palette makes that happen in several combinations! Three different easy looks are put together for day, night or something extra fashionable and fun! Or try mixing and matching between shades! How-to lesson cards are included in this cute little package, selling for only $36.

For "The Nail Polish-aholic"
Sephora by OPI Glimmer Wonderland Eighteen Piece Mini Nail Colour Set - 18 different polishes in adorable mini bottles, with a range of colours from pastels to brights to darks, and finishes from cremes to shimmers to metallics! A little bit of everything for the polish lover who loves everything! $48 for the set!

Tuesday, August 16, 2011

FOTD August 16/11 and saving time on your makeup routine!

This was me trying to REALLY streamline my makeup routine!! Right now I'm getting up at 5 a.m., and if that time of day doesn't make you reconsider the length of your makeup routine, nothing will!

The trick, for me at least, to streamlining my makeup routine is to wear less makeup and do my makeup more quickly, but not look like I'm wearing less makeup to the untrained eye... so to go from 4+ shades of eyeshadow carefully blended, with precisely drawn eyeliner down to one wash of eyeshadow and no liner isn't an option. Nor would going from skin flawlessly finished with foundation, concealer, powder and so on to moisturizer and a bit of cream blush. I want to find ways to make it look like I spent just as much time on my makeup as I usually do, even when I cut that time in half.

My tricks? I break them down into two categories - base and eyes.

For base:
  • Start with a good tinted moisturizer! Right now I've been using the Origins VitaZing. For some this will be enough, but if like me you prefer a more full-coverage look and still want some foundation on, using tinted moisturizer first will give you some base coverage combined with the all-important step of moisturizing first...
  • ...then, take your foundation of choice and apply it only to "problem areas". For me, that's areas of redness like on and around my nose, my chin, and a little on my forehead. I've been using Rimmel Lasting Finish 25 Hour foundation, and just applying it to these areas with my fingers. I make sure to get it on the undereye area as well, because this step can also save time on concealer!

Doing it this way saves me time because normally, I would moisturize with a regular moisturizer, then apply foundation all over my face with a sponge, taking a lot more time. This way gets me close to the same coverage, but in far less time, because by the time I'm done step one, I'm already half way there for the coverage I need by the end of step two!

For eyes:

  • Find a good medium shade - one that's not too light that it could be a highlight or even your usual lid shade, but not so dark it would be a crease shade. And put it on your lid!! It's really simple actually... if you choose your colours and finishes carefully, you can even get a couple shades of the same colour on there for more depth, but still take hardly any time doing it. I find shimmery shades tend to blend more easily on their own and with other colours, so they can really cut down on blending time if you're in a hurry.
As an example, here's a breakdown of how I did the look below, using all these techniques!

  • Apply NYX Jumbo Eye Pencil in Iced Mocha to the lid. I just rub the pencil on my finger and rub that on my lids.
  • Apply shade 13 from the Sephora Color Play 5-in-1 palette (a medium-light shimmery silvery-taupe) to the inner half of the lid.
  • Apply shade 12 from the same palette (a slightly darker version of the same colour) to the outer half, blend at the middle. Sweep a little bit of this shade along the outer third of the lower lashline.
  • Take an angled brush, dip it in a pigmented, matte black eyeshadow (I like NYX's single eyeshadow in Black) and stamp that on the outer half of the upper lashline, creating a slight, soft wing if you so desire.
  • Then just add water! Hehehe no I'm kidding.... then just add mascara and you're done!
This takes less than half the time of most of the eye looks I usually do when I have more time, but really doesn't look extremely simplistic. Play around with the shades you have to see how this can translate for yourself when you want to save time!


Thursday, August 04, 2011

NYX Jumbo Eye Pencils - tips for use as cream base

Most people have probably heard of the wonderful NYX Jumbo Eye Pencils (which I swatched and reviewed very recently) and if you have, you've probably heard that the shade Milk is great to use as a cream shadow base to make your powder shadows show up more vibrantly and stay put longer. This is true, but what you may not have considered is how the finish of Milk would effect the finish of the eyeshadow you lay over it.

Because Milk is a fairly opaque matte white shade, it tends to make shades you put on top of it pull matte as well. Which is totally fine if you put a matte or satin eyeshadow over it, but what if you want to put a shimmery shadow on top? What you may not realize is that putting a shimmery eyeshadow over Milk can actually make your eyeshadow look less shimmery! And if this isn't what you want to do, that's a bad thing!

But luckily, there's a solution! It's called NYX Jumbo Eye Pencil in Cottage Cheese! A slightly off-white and shimmery colour! When you use this as your eyeshadow base under shimmery shadows, it will preserve and even enhance the shimmer in the powder shadow, rather than dull it down like Milk would! Here's an example of this in action. I used some of the shades from the LA Colors Unforgettable Palette - click here to see a swatch of it over UDPP, which is totally transparent. Now look at this!


Pretty big difference eh? Here's some close ups:


So remember to keep the finish of your powder shadows in mind when choosing a cream colour base so you don't mess up the finish of the shadow you lay overtop! Hope this tip helps you in the future! ;)

Tuesday, August 02, 2011

Why swatching is important!

One of the reasons I love having a couple Sephora's accessible to me (one in the mall I work at, and one a few minutes from where I live) is I do less impulse internet buying. I'm able to go in the store, look at the product, swatch the product and see if it's worth it!

In some cases, doing this makes me realize that buying something from my wishlist would have been a big mistake! Such as in the case of the Sephora Collection Moonshadow Baked Palette in "In the Nude", which appeared on my most recent What's On the Wishlist? post.


I dropped into Sephora after work today specifically to swatch this, and I was capital-Disappointed. There was hardly any pigmentation!! If you're looking for some really sheer glitter bombs, this is the palette for you. Now I know some people may like sheer, glittery shadows and that's fine!! But according to Sephora's website:
  • "Each formula features high payoff pigments and textures that blend easily. Its micro glitter adheres to the skin better than regular sized glitter. Used wet, the dark shades can be used as an eyeliner with an intensified, bolder effect. "
 So I was expecting pigmented, glittery shadows. Not sheer ones... I made sure to swatch a range of colours, from the light ones and the dark ones, and both were just as bad. I didn't even bother taking a picture...

So know that pigmented is not what you will get here, and you may not want to bother. It's possible these might foil well, but honestly I want the shadow to show up well without having to take any extra steps!

Tuesday, July 26, 2011

On a more philisophical note...

Taking ownership and control of your appearance while loving who you are on the inside. These things are not mutually exclusive.

I got to thinking about this today on the bus ride home. Why do people who put a lot of effort into their appearance do so? Why do some people not at all? Why do some people beat themselves up emotionally about the way they look to a point where it affects how they feel about themselves as a human being? Are people who put a lot of effort into their appearance shallow, or trying to hide themselves?

To address those who are unhappy with their appearance and because of that, don't put effort into it and feel badly about themselves for it - don't! Remember, you have the face God or your plastic surgeon gave you (hey, you never know!) but regardless, every day when you wake up and look in the mirror, that's what you're working with. Period. Wishing won't change it, and what you see in the mirror isn't reflecting the beauty inside of you. I find for myself that no matter what insecurities I might have about my appearance, putting effort into making myself look good reminds me that I'm worth it (to cop a cheesy line from L'Oreal!) and that I'm reflecting the beauty I know I have on the inside, to the outside. There is beauty in everyone, and finding it and expressing it can be a lot simpler than you think.

But this isn't to say that only those who put effort into a more natural look are happy with who they are. Put it this way - no one is born with the knowledge and skills to be a heart surgeon. You have to make a conscious decision to become one, and then apply yourself seriously to becoming one. Just because you weren't born knowing how to be a heart surgeon, does that mean you aren't meant to be one? Of course not! The same principle applies to your personal appearance! If you have dark hair and want to be blonde, do it! If you are pale and want to use self tanners until you're a bronze goddess, do it! If you want to wear a dark smokey eye look every damn day, do it! Just be sure that whatever you are doing to alter your appearance is to enhance the expression and celebration of who you are, not to create a mask or a disguise to hide the true you or pretend to be someone else because you're not happy in your heart.

The power of aesthetics is that you can look inside yourself at who you are and who you want to be, and display that outwardly for the world to see. Next time you look in the mirror, try not to think of who the world wants you to be, or who you wish you could be. Think about who you are, what you love about yourself and what you want to say without words. Then pick up that makeup brush, hair brush, bronzer or box of hair dye - and express it.

Saturday, July 09, 2011

Minor facelift!

Hey everyone!! I was playing around a bit with my Blogger display settings, because I was feeling restricted by the width of my blog. I couldn't get images to be as big as I wanted without them running into the nav bar. Lucky for me though, Blogger lets you adjust the width very easily! So I've widened it up a teeny bit, slightly narrowed the nav bar to compensate, and gone through and increased the size of all the images on the blog for your viewing pleasure!

Enjoy! <3

Friday, June 03, 2011

HauteLook Urban Decay Sale!

I just discovered this AMAZING website and boy am I glad! But my wallet's not...

Basically, if you aren't familiar, HauteLook works like this:

"HauteLook is a premier members-only site that offers private, limited-time sale events on the world's best brands. Each day, members receive an email invitation to the newest, most exclusive sale events on the best merchandise for men, women, kids, home and beauty - at prices up to 75% off retail. HauteLook is free to join and everyone is welcome - there are no commitments or charges for membership."

These are NICE brand name items, good quality stuff... in all categories, from home items, to clothing, accessories, and even vacation packages at HUGE discounts. For example, I saw a stack of gorgeous 18k gold plated bangles accented with real turquoise, regular price $100, on sale for $29!

Back the the makeup though! According to some of the ladies on MUT, there were UD eyeshadows on last year's sale for $2!! Yes, you read that right - two dollars.

So if you haven't signed up yet, get going! By clicking on this link you can get yourself signed up, and also do me the awesome favor of giving me a $10 HauteLook credit for referring someone! ;) Then pass it along!

SIGN UP HERE!

The Urban Decay sale is this Monday, June 6 beginning at 8 a.m. Pacific time. See you there!

Saturday, March 12, 2011

All about primers!

Primers might be one of those products that you've heard about, but you're not really sure what they do, or how they work, let alone which ones to buy! So I wrote this article to tell you a little about how primers work, how to apply them, and to recommend some products to try, both from my personal experience and also from good reviews I've heard.

Face Primers:

Face primers are, obviously, for all over your face. These are applied after moisturizer (letting the moisturizer sink in to your skin for a minute is a good idea) and before foundation. One main purpose of a face primer is to smooth your skin - they will make your skin feel so silky smooth and this really helps your foundation apply a lot more smoothly on top of it. This can also really help minimize the appearance of pores. If you look for a mattifying primer, it can help reduce shininess if that's a problem you encounter with your skin! Face primers will also help your makeup last longer, both in the sense of keeping it on your skin longer, and I also find I need to use less foundation when I'm wearing primer, so you keep more in your bottle for later and less on your skin!

You don't need a lot of primer, just a teeny amount will do. Some people prefer to put it only on oilier areas or spots with more visible pores, some put it all over - do whatever you prefer! You can apply it with your fingers if you like (I do!) but you can also use a synthetic foundation brush.

Face primers I've used and like:

MAC Prep+Prime Skin - I like this for a day look, it's not very mattifying and it's pretty light. The texture is almost like a mousse but a little more liquid - it has a teeny-tiny amount of shimmer to it but you hardly notice it on the face, it's more like a glow.


Lise Watier Base Miracle - Thicker, kind of a thick gel texture but more dry. I like this one for evening looks because it's a bit thicker and it's mattifying. Makes my skin feel like silk! Pricy (about $30+ for 25 ml) but it's worth it - a little goes a long way and since I usually only use it for big nights out, I've had the same bottle for a looong time!


L'Oreal Studio Secrets Magic Perfecting Base - this stuff is really well priced at around $10CAD. It has a slightly stickier feeling than most primers when you first touch it and apply it to your face, but it quickly sets and leaves a very smooth, soft feeling on your skin. You can definitely see the effect of it on the texture and tone of the skin, even on the back of your hand. A great buy for those on a budget!!


Face primers I've heard good things about (but haven't used):

Smashbox Photofinish Primer

Make Up For Ever HD Microperfecting Primer

Eye Primers

Similarly to face primers, eye primers help your eyeshadow last longer. They also really grab the pigment and lock it into place, so not only will it not budge, the colour payoff will be a bit better. The only con I've found with eye primer (and this may not be the case with all primers, maybe just the one I use) is that because it really grabs and holds the colour, it can be hard to blend out darker shades. BUT - I've found a pretty easy way around this.

Once I apply the primer from lashline to browbone (you need only a pretty thin layer) with my ring finger, I take a medium fluffy shadow brush. Everyone's eyelid size is different, but basically you want to aim for a brush that when turned sideways (flat side against your skin), takes up ONLY the space from just above your crease to just below the brow bone. In that area, swipe a shade of eyeshadow that is either exactly your skintone, or slightly darker for a little more depth. I've been liking using the lighter shade in L'Oreal HIP's Shady eyeshadow duo to do this. This will be a great invisible eye shadow to blend both your brow highlight shade into, and your contour shade as well, while still laying your lid and crease colours directly onto the primer to get the best "grab".

Eye primers I've used and liked:


Urban Decay Primer Potion - I got a sample of this from Sephora in the "Eden" shade originally, which is a matte yellow-ish shade. I also have the original, which is my favourite, it's just completely sheer. I don't go a day without this stuff!


Eye primers I've heard good things about (but haven't used):


Too Faced Shadow Insurance

Benefit Stay Don't Stray - this is also billed as an undereye concealer primer

MAC Painterly Paint Pot - not actually a primer but lots of people use it as one!

So overall, primers are a fantastic addition to your makeup collection if you want to give your makeup that extra oomph and lasting touch - they're one of those things that will make you and your makeup look better without anyone else really being able to put a finger on why - basically, they're effortless with a lot of payoff!

Hope this article was helpful to you! :)