Pages

Monday, May 20, 2013

Return to normal programming! (?) And some nails!

Hey guys! I was a little burned out for a while there with the full on blogging, and I was finding it easier to just do quick uploads to Tumblr and Beautylish instead of writing full blog posts here. I'm still not 100% sure if I am going to be bringing this blog back to full speed or if I will go with Tumblr only. Since my work hours have changed (making it harder to get daylight pictures with my camera) and I got an iPhone (which means I can at least snap decent pics at work when there's light and then upload them from my phone) it changed the dynamics of my posting. Typing out a whole blog post on an iPhone is not fun!

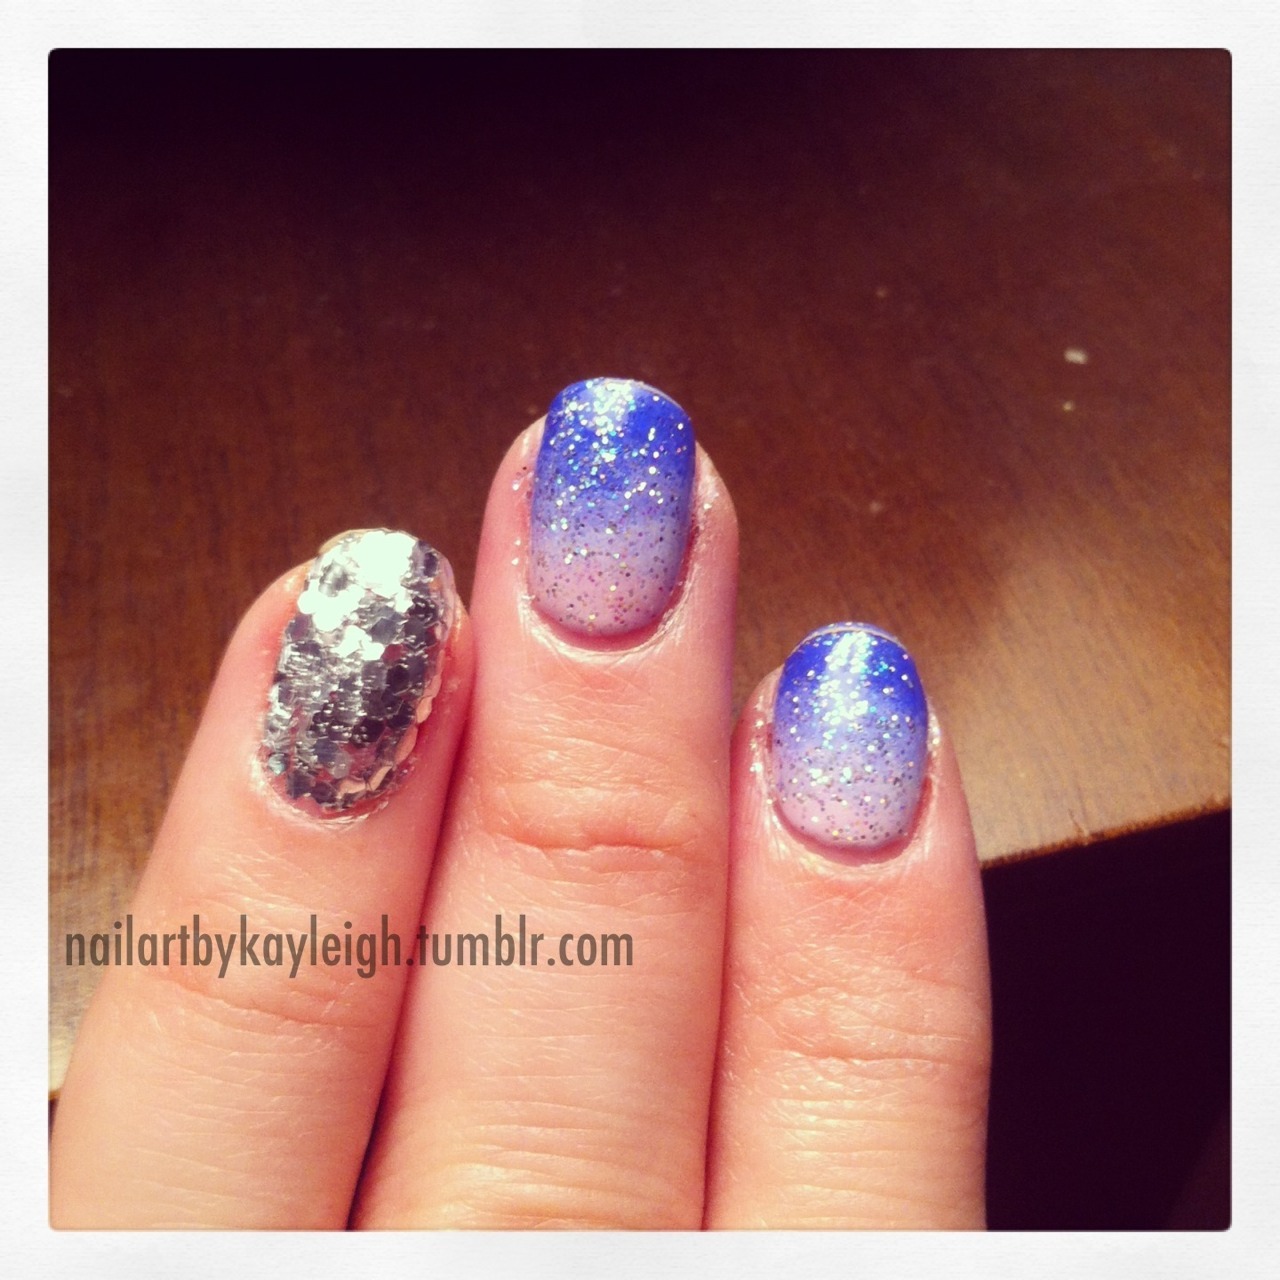
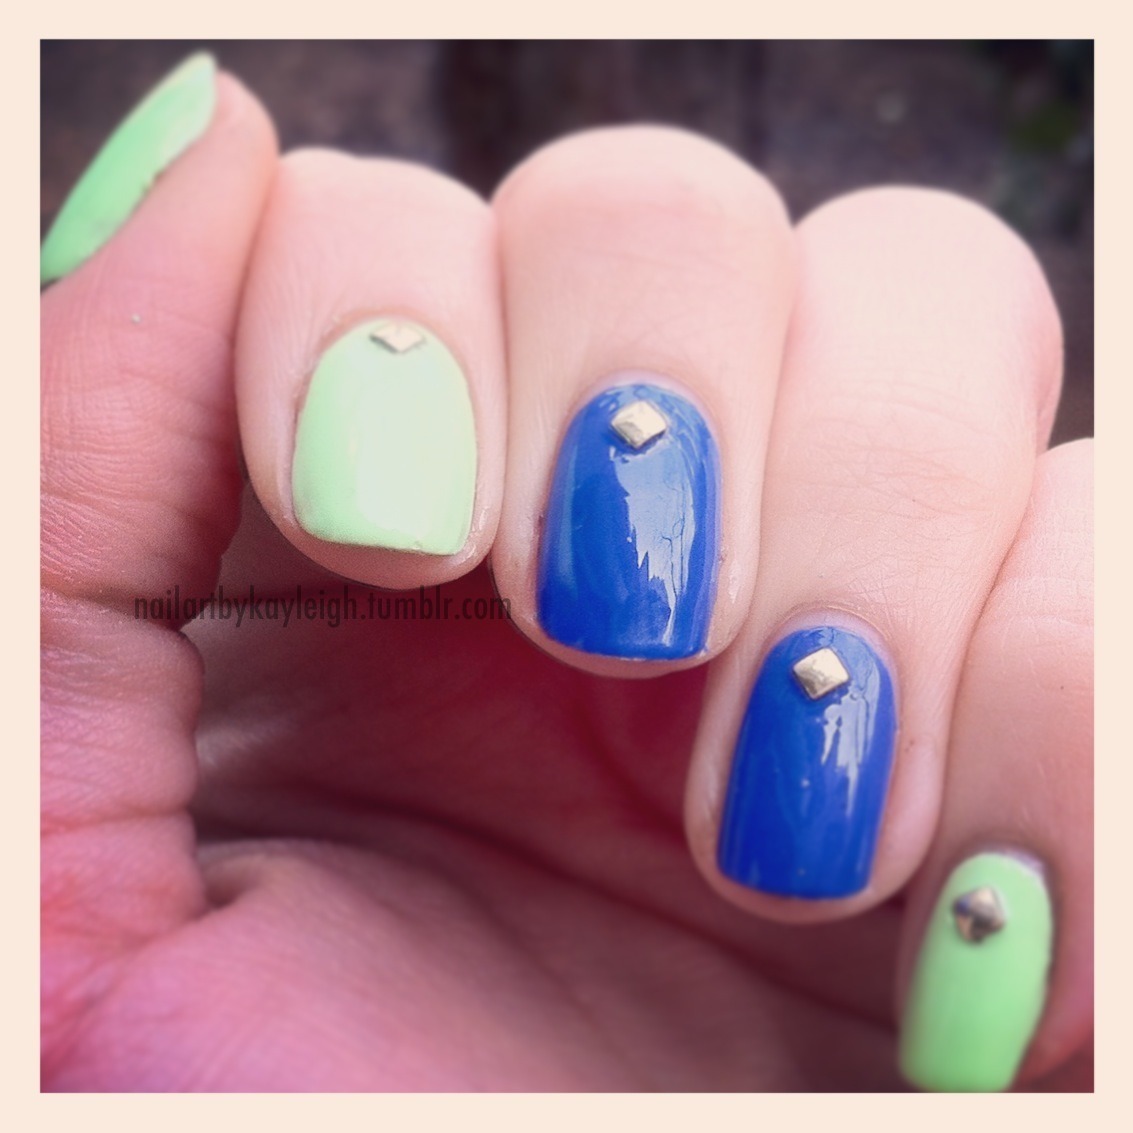
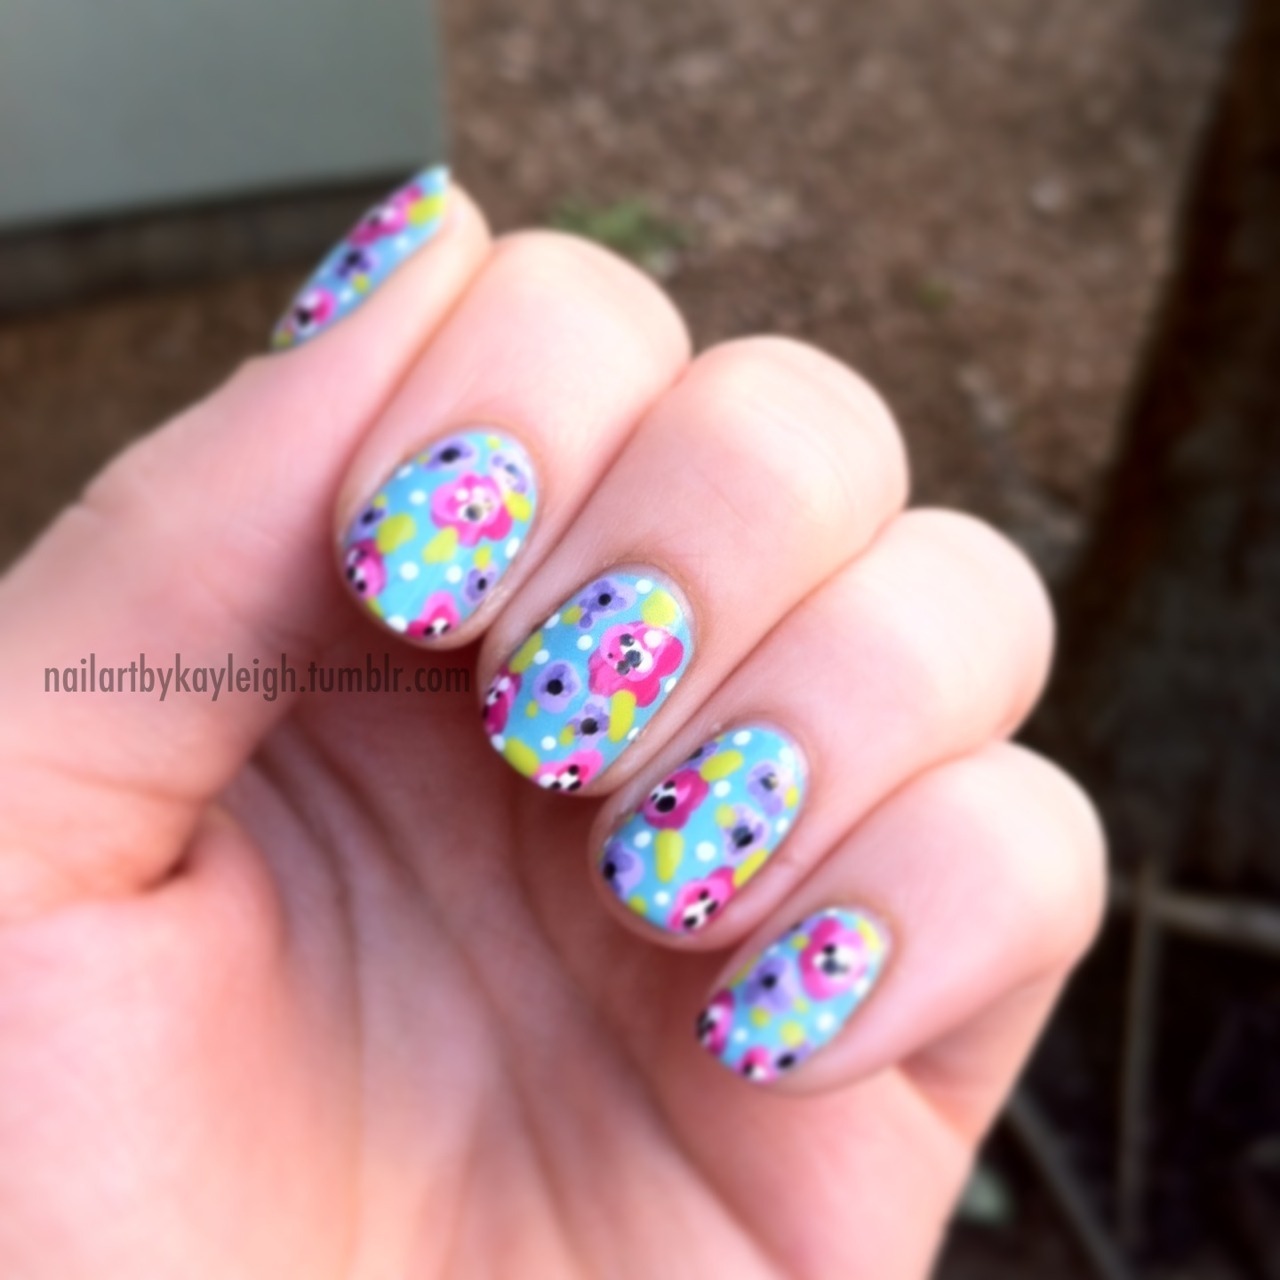
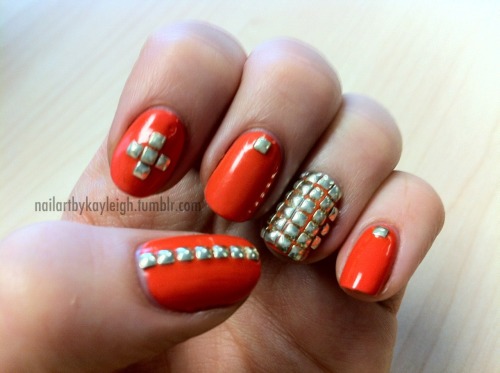
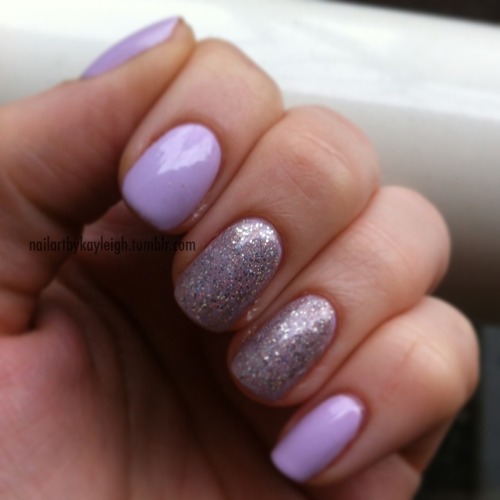
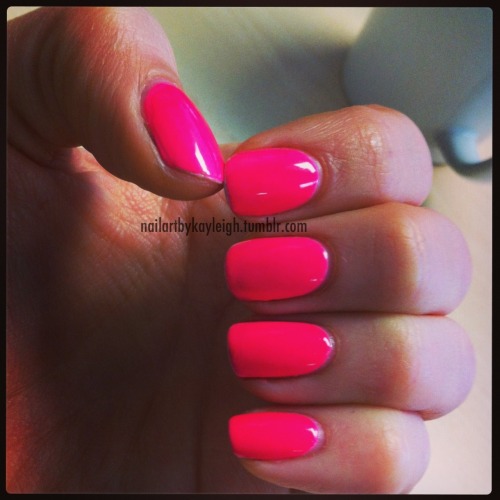
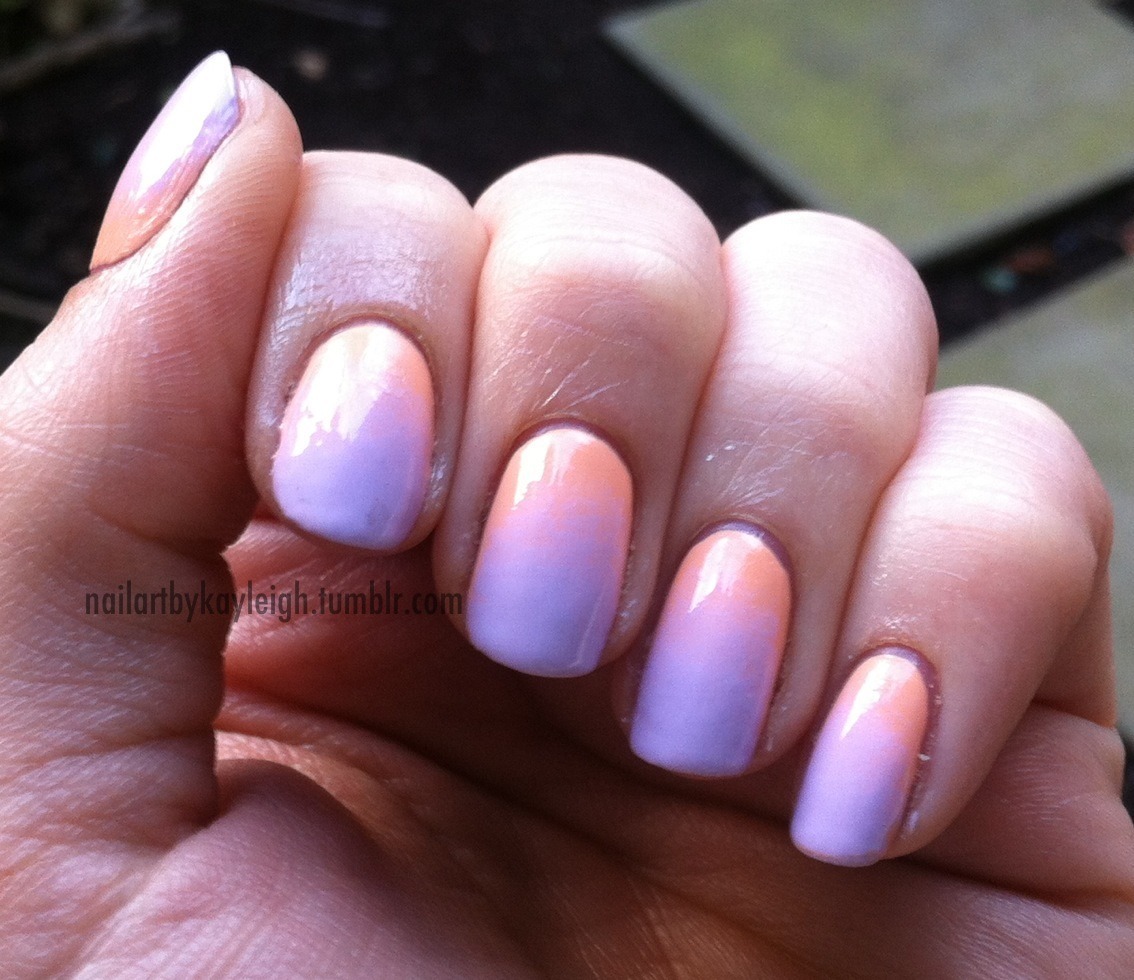
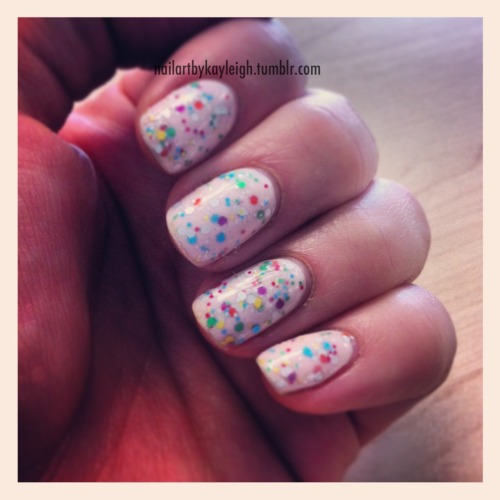
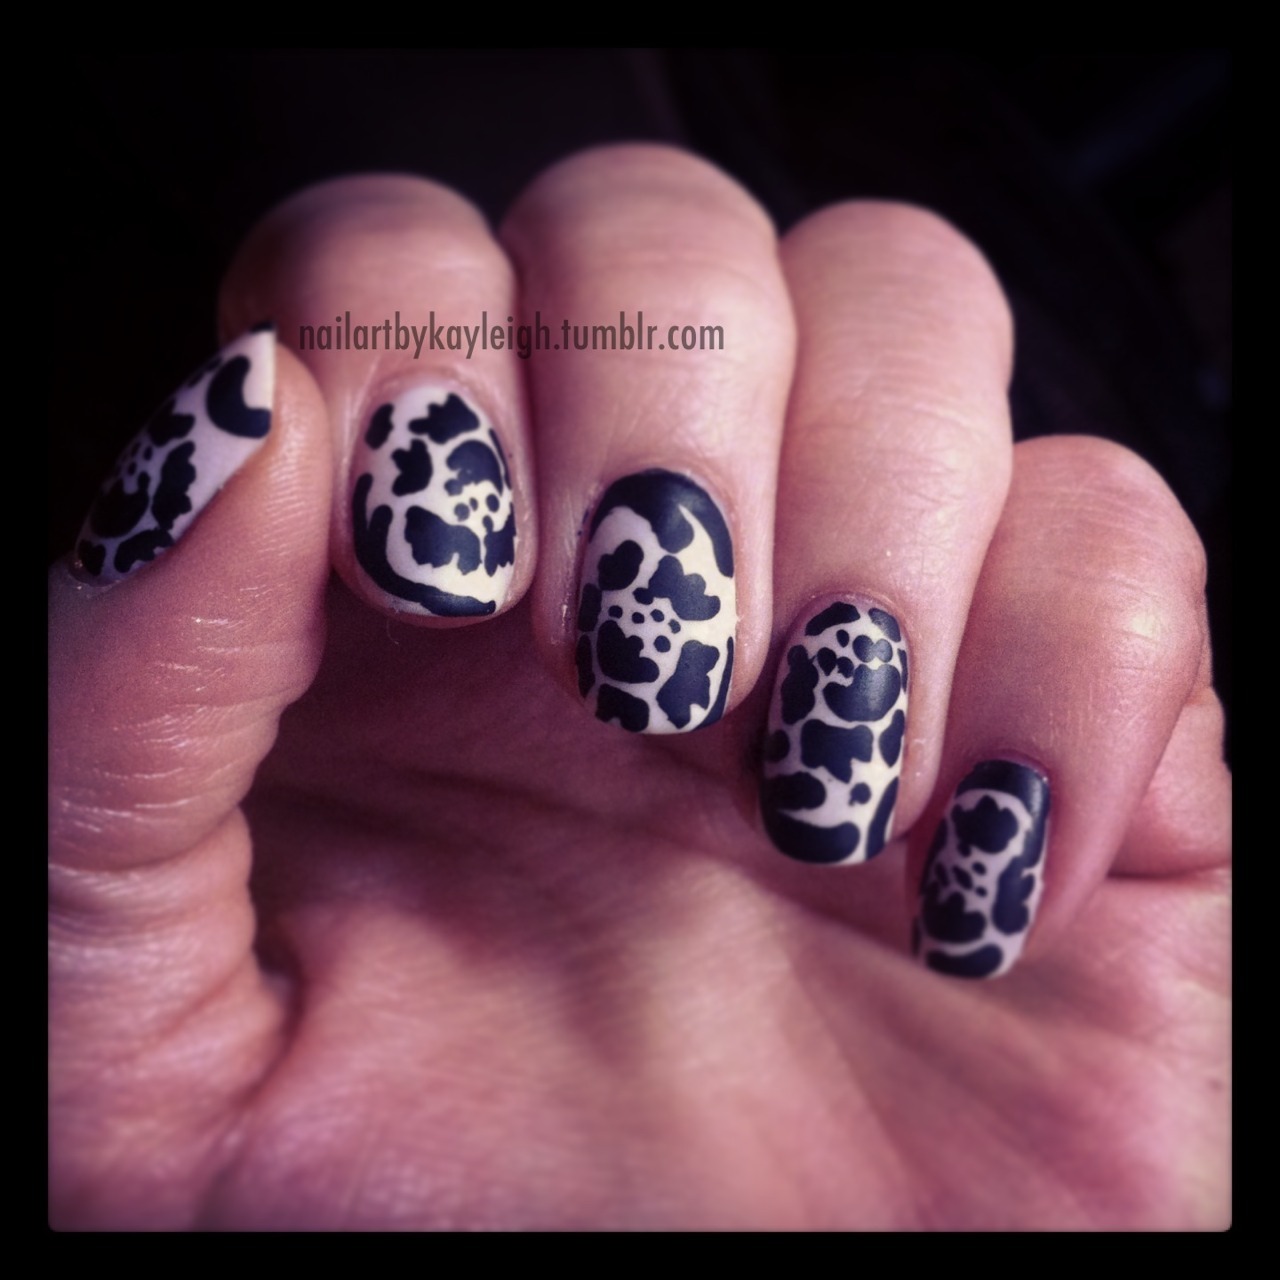
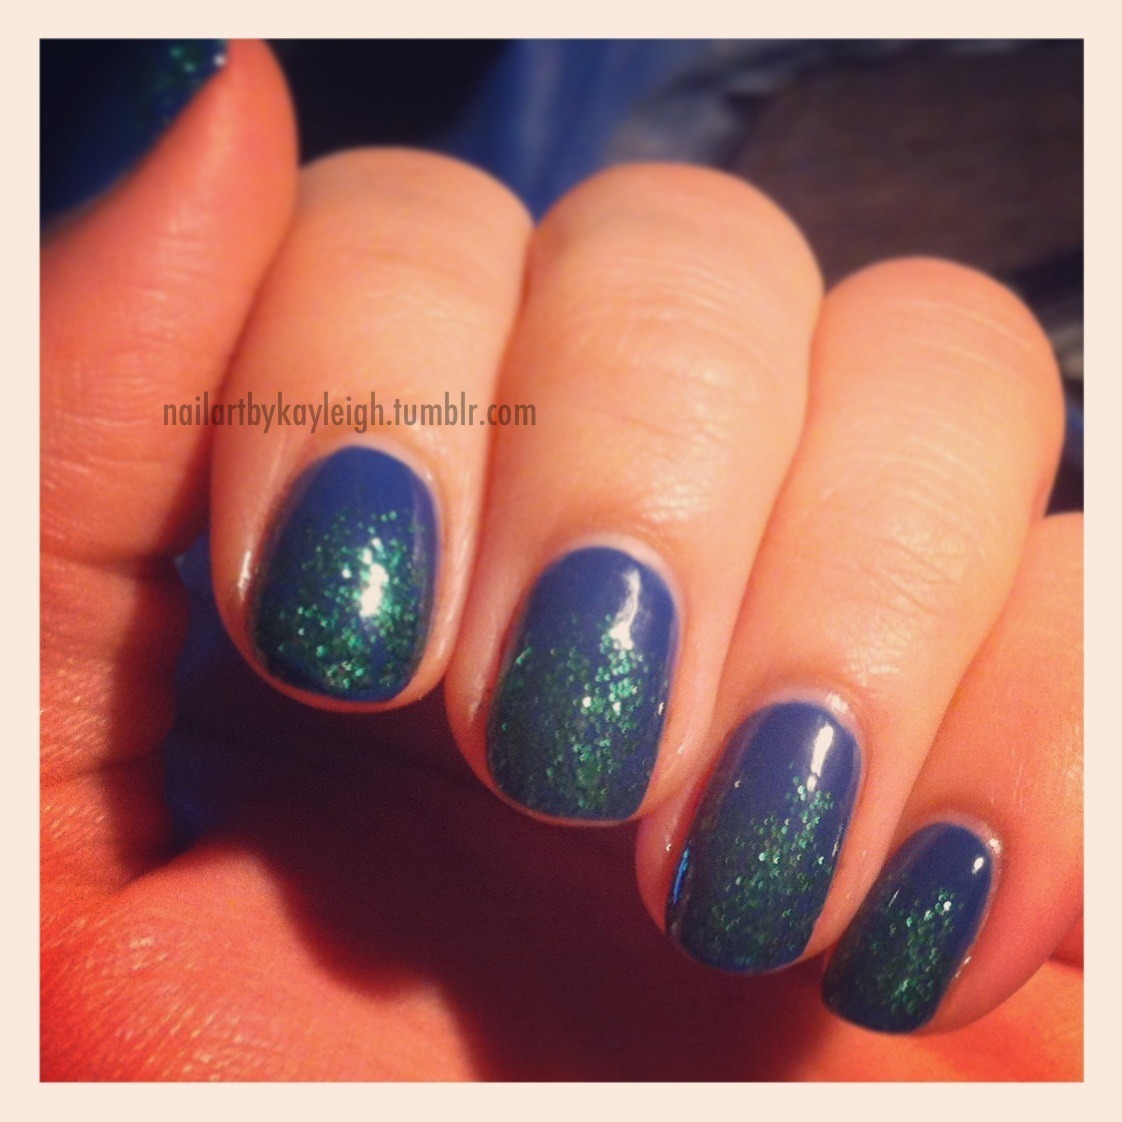
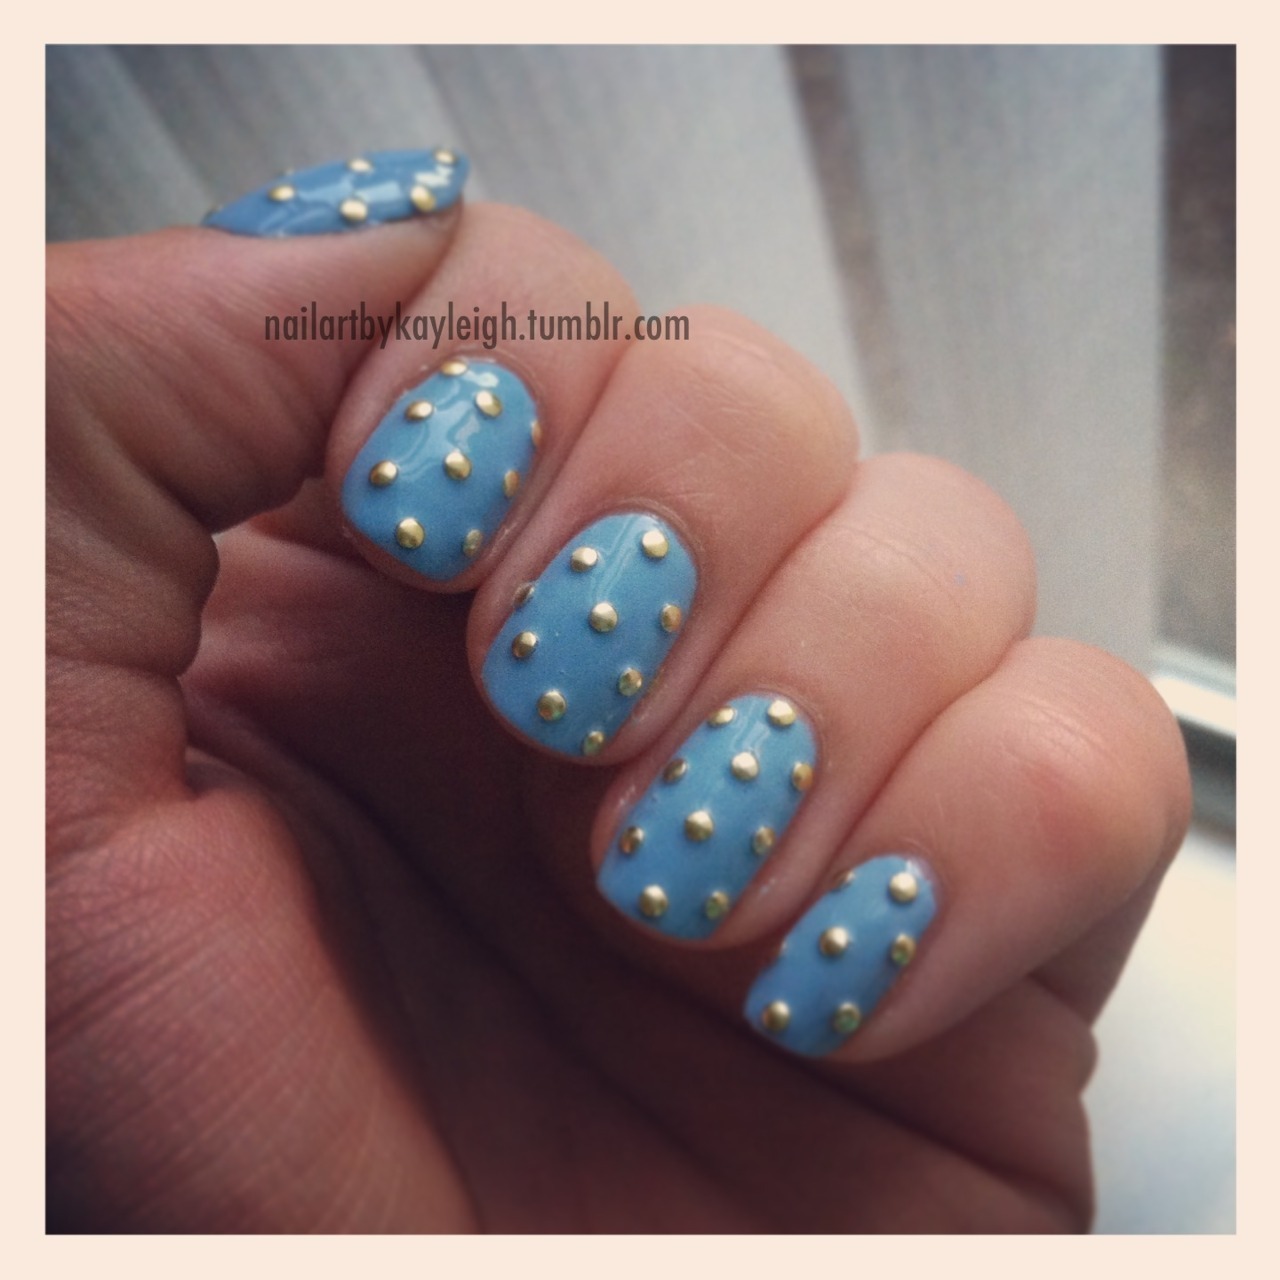
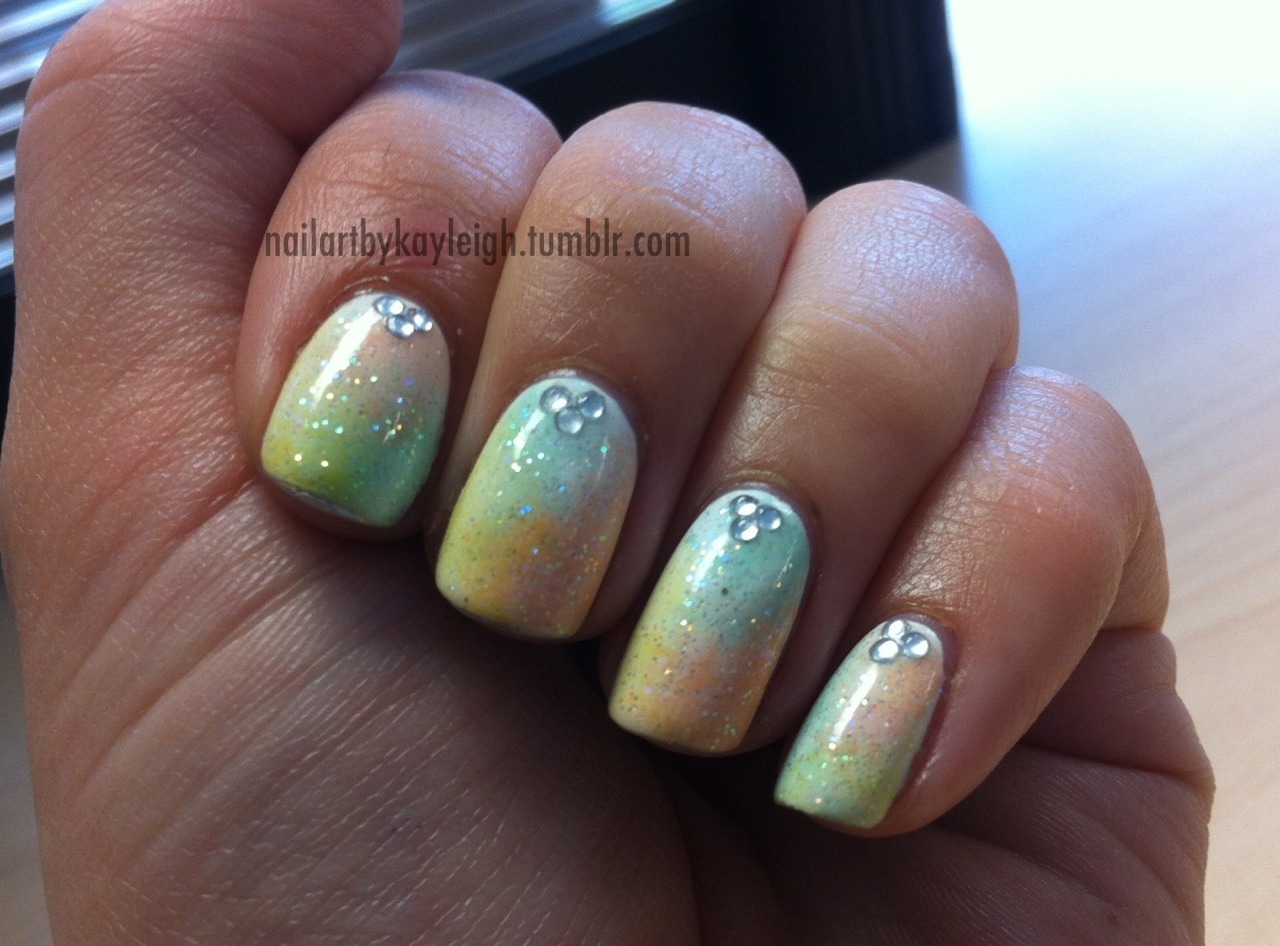
For now, here's some pics of what's been on my nails since the last time I updated. If you aren't following already, check me out on Tumblr! I'm also on Beautylish! :)


As you can see, I've been far from inactive as far as nails go! I can't definitively promise regular updating on here, so please come follow my Tumblr or my Beautylish page. :) See you around!

Wednesday, March 27, 2013

NOTD Mar 27/13 - nude, black and silver glitter

Just a really quick and simple one today! I saw this look in Pinterest and thought it was very classy and pretty, so I had to try it out! I also finally spruced up my toes today! Feels good to be all polished up!

Colours are Essence in Black is Back, LA Girl in Romantic, and LA Girl Glitter Addict in Explosion.

Saturday, March 23, 2013

NOTD Mar 23/13 - nude and blue leopard

Sorry for the bit of a gap in updates! I recently got an iPhone and I've been playing around with Instagram (username is kayleighk88 if you want to follow :) ) so I've been a little distracted!

I haven't managed to get a "real" photo of these nails but the Instagram photo turned out pretty good so I thought I would also share here!

I used a couple coats of Barielle in Beaches & Dreams and then for the middle of the leopard spots I used Essie in Butler Please, which I recently picked up on sale! Looove this colour, going to be doing more with it ASAP! The black is acrylic paint.


It seems like pretty much everywhere in North America except here in BC is getting crazy blizzards lately!! It's actually been getting sunnier and nicer here, still a nice little hailstorm the other day though, and even snow about 30 minutes away from my work, where it was sunny. What up, global warming?! But even this little bit of sun is making me hopelessly excited for summer to hurry up and come... I can predict my manis will only be getting more and more summery!

Sunday, March 17, 2013

NOTD March 17/13 - Happy St.Patrick's Day!

Happy St.Patrick's Day everyone! I worked today so I didn't get into any kinds of festivities, but I hope you're all having fun of some kind today!

I looove this mani.. I know I say that a lot, but it's OK to love a lot of things... and I really do love this. It's so simple but it has so much impact. I was an easy mani to do, even the clovers only used a dotting tool and took about 4 seconds each! I think too that this is a good format for other kinds of manis... ie: use red and pink glitter and do the white nail with a heart on it for Valentine's Day... you get the idea!

Anyways, here she is!


The white is Sally Hansen Xtreme Wear in White On, the gold I layered under the glitter is Sally Hansen CSM in Gilty Pleasure, and the green I layered under the glitter is Sinful Colors in Envy. The gold glitter is Milani Jewel FX in Gold, and the green glitter is LA Girl Glitter Addict in Purge.

Friday, March 15, 2013

NOTD Mar 15/13 - Minnie Mouse inspired (again!)

I realized this is the third time I have done a manicure inspired by Minnie Mouse! Somehow that little mouse is just so inspiring with her iconic red with white polka dots and black bow! My Minnie Mouse design on my Etsy shop has been my most popular design, accounting for about 30% of my sales!

I recently bought a new red polish from a dollar store line I've grown to love, called Tivoli. This red is no exception, it applied like an absolute DREAM. This was two easy coats! The shade is Tivoli in NP193, and then I used acrylic paint for the dots and the bows!


Sunday, March 10, 2013

NOTD Mar 10/13 - stripes and negative space

Negative space has been a growing trend with nail art lately, and I really love the look of it. I also really needed to find more reasons to use my striping tape, but I always hesitate to use it because I have to let my bottom layer of nail polish dry for so long before it's safe to put the striping tape over it, and I don't usually have the time! So combining a striped look and negative space was the perfect solution!

I applied the striping tape over my bare nails, and then used a detail brush to paint in stripes of the various colours. The colour palette I picked was black, gold, turquoise and coral. I'm really happy with how this turned out, I think it looked awesome!


The colours I used were Essence in Black is Back, Barielle in Do Unto Others, Sally Hansen CSM in Gilty Pleasure, and Barielle Blossom. My right hand was skittles of these colours because I did eventually get tired of fussing with the striping tape!! :p

Saturday, March 09, 2013

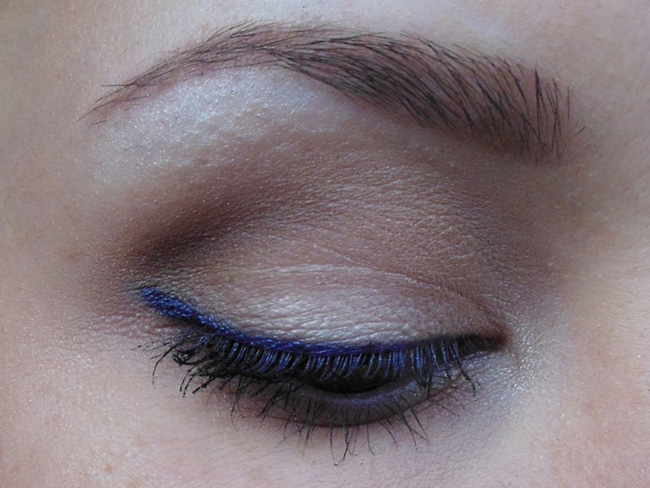
FOTD Mar 10/13 - navy blue cat eye

Not too long ago I spotted some Essence products on clearance at Shoppers Drug Mart and one of them was a gorgeous, shimmery navy blue eyeshadow shade called Wild at Heart. I knew it was a perfect shade for "my kinda colour" in eye makeup, which is fairly subtle.

Today I got around to actually trying the look I had in mind and I love it! It gives as much drama and definition as a black cat eye but with a little bit of a more colourful, different look. I just put this on to run out for a few errands but I'm definitely going to be rocking this look again this week at work!


I kept the lids really simple with just light, neutral colours so they wouldn't overpower the blue liner. On my lids I have Essence Eyeshadow in Cappuccino, Please!, UD in Buck is in my crease and just in the outer corners for more definition I used a matte dark brown shadow from my NYX One Night in Morocco palette. Highlight on inner corners and browbone is UD Sin.

For the actual liner itself, first I did a light line of a navy blue eyeliner, one by Annabelle. Then I used an angled brush and swept Wild at Heart over the line, then followed with mascara! The mascara I used today was Essence Get Big! Lashes (waterproof).

Here's some close ups of the eyes:


I wore NYX Stick Blush in Hibiscus on my cheeks, and my lips are Revlon Super Lustrous Lipstick in Just Enough Buff with Sephora Glossy Gloss in Maple Syrup on top.

Thursday, March 07, 2013

NOTD Mar 7/13 - chevrons and dots

I couldn't just leave the chevron look alone! It's a design I really like and I wanted to give it another shot. This time I mixed it up - I did smaller chevrons on the thumbnail and bigger ones on the fingers, and then on my right hand I went for dots instead in the same colour scheme.


Here's a side by side shot of both hands!
The orange is Sally Hansen Xtreme Wear in Sun Kissed, and the blue is Essence Let's Get Lost. White is acrylic paint!

Tuesday, March 05, 2013

NOTD Mar 5/13 - round-studded ruffian with Cinderella

A while back I finally picked up the much hyped Sinful Colors Cinderella, but I hadn't found a chance to use it in a manicure yet! I finally sat down the other night and had no firm ideas for what to paint on my nails, but I knew I wanted to incorporate Cinderella finally!

I started with a coat of Nicole by OPI in "Baby" Blue as underwear, then painted on a coat of Sinful Colors in Cinderella. Then I looked all around my nail painting station (grandiose euphemism for the top of my Helmer drawers) for inspiration, and saw my flat round studs! Then the inspiration came easy - a ruffian made of the studs. A few minutes later I was in business and pretty darn pleased about how the spur of the moment mani turned out! I would definitely try this out again with other colours. I think it's a great way to showcase a nail polish that has a cool and unique colour or finish without covering it up with nail art, but still incorporating some "extra" details.

Unfortunately slightly cloudy photographing conditions didn't do an awesome job of showing the pink micro-flakies in this polish, but trust me, it looks even more awesome in real life!

Monday, March 04, 2013

NOTD Mar 4/13 - violet and colourful glitter

I just loved this new shade of polish so much I had to find a way to use it! It's another dollar store one, can't remember the exact price but it was somewhere in the $2 range, and it applies marvellously for such a cheap polish! Doesn't have that stinky chemical smell some cheaper polishes can have too which is even more of a bonus.

I kept it simple (for me) with a couple coats of the gorgeous violet and then a glitter gradient that was multicoloured.

The violet is Tivoli Color Shock in shade NP127 (have I mentioned how much I hate it when companies don't actually name their shades? Grrr!) and the glitter is NYX Advanced Salon Formula Nail Polish in Multi Glitter. At least it has a name, but no points for creativity there.

Monday, February 25, 2013

NOTD Feb 25/13 - lavender and chevrons

I finally made my first foray into chevrons! I like the design a lot and although I'm not 100% happy with this mani, I know what I want to do differently next time to make it better.

My only issue with this mani is that I think the chevron stripes are too thick - next time I'll make them thinner. Other than that though, I like it! It's easier than I thought it would be to do - probably largely due to the fact that I used acrylic paint instead of nail polish!


Lavender is Revlon Top Speed in Lily, and the white is Sally Hansen Xtreme Wear in White On. Black is acrylic paint!

Saturday, February 23, 2013

NOTD Feb 23/13 - 80's abstract!

This was actually from last week but I've been slow in getting stuff done, had a busy week!

My boyfriend really loved this design which was funny, he is supportive but he doesn't normally notice my nails all that much!

I based this off a design I saw on Pinterest, but I'm not sure where it originally came from. I just switched up the colours. This looks pretty 80's to me and I like it! Very easy to do and looks so fun!

The green is Essence in L.O.L. and the blue is Sally Hansen Xtreme Wear in Blue Me Away.

Thursday, February 07, 2013

NOTD Feb 7/13 - navy and mini hearts

This background colour would not photograph properly and it was so frustrating! It looks black but it is a deep navy! It reminds me of something you would see at American Eagle Outfitters, a pattern on a shirt or something. It's cute for Valentine's Day but it would work any time of the year, and in lots of colour combos! Here is a great swatch by the Polish-A-Holic which shows how the colour REALLY looks!

Background is Barielle in Berry Blue, hearts are Wet n' Wild Wild Shine in Red Red and Sally Hansen Xtreme Wear in White On.

Saturday, February 02, 2013

NOTD Feb 2/13 - simple Valentine's glitter fade

Sometimes simple manis happen because that's what you're in the mood for, and sometimes they happen because you have somewhere to be but then you realize your manicure is looking totally busted and it's time for a new one. And time is short, so you do the quickest thing you can think of! This manicure is the latter! But even if it was rushed, I still really like it. I love the contrast of the really sheer, soft pink and the bright red glitter - I don't think this would look as cool with an opaque pink polish.

The pink is Essence in Sweet as Candy, and the red glitter is LA Girl Glitter Addict in Animate.

Wednesday, January 30, 2013

NOTD January 30/13 - valentine's day dotticure

The first of my Valentine's Day manicures is here! I really love this one, it started out with one idea (the dotted heart design) but then grew when I decided I didn't want to do that design on each nail. So I went for the cuticle dot gradient with a contrasting colour on the ring finger. Love this so much!


Sunday, January 27, 2013

NOTD Jan 27/13 - matte grey, simple and classy

On Pinterest this week I saw a photo of a very simply mattified grey manicure, and I was totally inspired - grey isn't a colour I use a lot. But being me, I couldn't do just matte grey. I wanted to keep it fairly simple and classy looking though, so I toyed around with some different ideas and settled on grey with white polka dots and an accent nail of silver glitter, all mattified.


I love how these turned out!!! They're simple but still different, totally classy but cute vibe to them. This would be cute in any colour combination but I'm loving the grey/silver/white look.

Colours I used were Sally Hansen Xtreme Wear in Wet Cement and White On, and LA Girl Glitter Addict in Explosion. Top coat is GOSH Matt Effect.

Also, I think my indoor photo taking is a bit better this time. I messed around with the lighting in an editing program a bit and I think it worked nicely!

Saturday, January 26, 2013

Freshly Ordered: Jewelry Haul

I have been hitting the Pinterest fashion boards hard the last few days, and one conclusion I have come to is this: I need more jewelry. Particularly statement jewelry! All of my necklaces are either small pendant charms on a chain, or long pendant charms on a chain. I still love those styles and don't plan to stop wearing them, but I wanted something else for variety and to make some of those awesome outfits I've seen on Pinterest happen for me in real life!

I got real lucky tonight too - I scored some absolutely amazing deals and I just can't wait til this stuff arrives!

First I placed an order with HauteLook. If you don't know what HauteLook is, you should!! Basically they host limited time sales for all kinds of brands, at prices that are SO LOW it's insane. I got a $300 curling iron for about $50. And wait til you see the prices for the jewelry I bought!

If you wanna join HauteLook (and simultaneously gift me with a $10 credit upon your first order ;) then CLICK HERE to join!

Now let's see the goods!

This is the Harriet Disc Necklace by Chloe and Theodora. Original price $96.00. I paid $22.00!

And then the t + j designs Pretty in Pink Crystal Necklace. Original price $98.00. I paid $14.00!

Crazy deals right? And the shipping (to Canada, which can be notoriously expensive!) was only $10.95. A steal!

I went to check out the website of t + j designs, and their sale section on their own site. I noticed if you signed up for their newsletter you could get a $10 credit for your first order, so I did that...

I ordered their Lemon Teardrop Necklace. Original price was $30.00. Sale price was $18.00! With the credit, I paid only $8.00!!! Shipping was also a very reasonable $5!

So that was three beautiful statement necklaces, worth over $200, that I paid around $60 for!

I consider this a good day.

Disclaimer: No companies are asking me to pimp their stuff! These were orders made with my money for my own self! Clicking the link to join HauteLook and give me a $10 credit upon your first order is an offer available to any member of HauteLook, not something offered just to me. Join up, share the love, and start sending out invitations to other people to get yourself some credits too! ;)


Friday, January 25, 2013

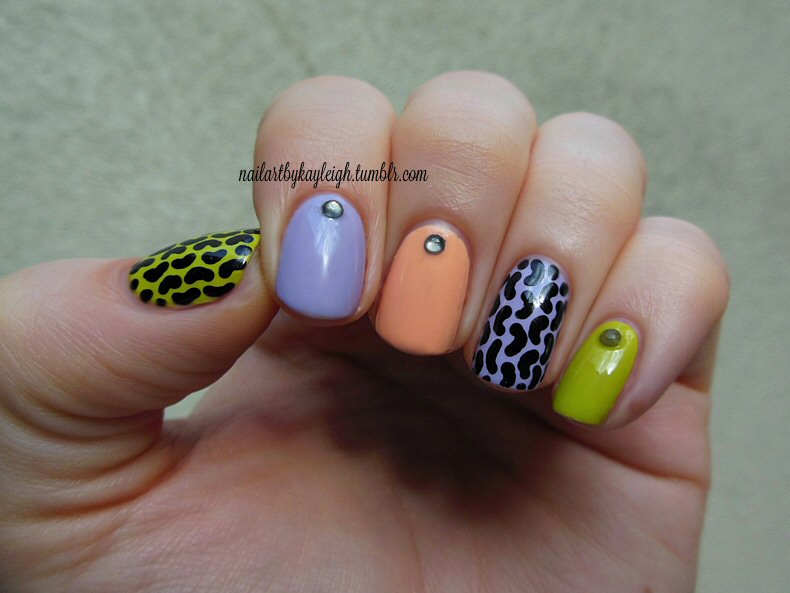
NOTD Jan 25/13 - funky abstract

This idea was sort of floating in my head for months, but I never got around to doing it. The idea for the pattern on my thumb and ring finger popped into my head and I thought it would look pretty cool, and when I finally decided to make it happen, the perfect colours jumped out at me too!

Now that I look at the pattern in reality, it really kind of reminds me of tire tracks, especially when I was first drawing it on and started it in the middle of my nails. The black rhinestones I added on as a last minute addition to make it a little more balanced and add a bit of pizazz to the plain nails.

The green is an awesome shade I recently picked up, Essence in L.O.L., such a gorgeous chartreuse shade, LOVE! The lavender is Revlon Top Speed in Lily, and the peach is Illamasqua Purity. I painted the designs with black acrylic paint, and the black rhinestones are from Born Pretty Store!

Wednesday, January 23, 2013

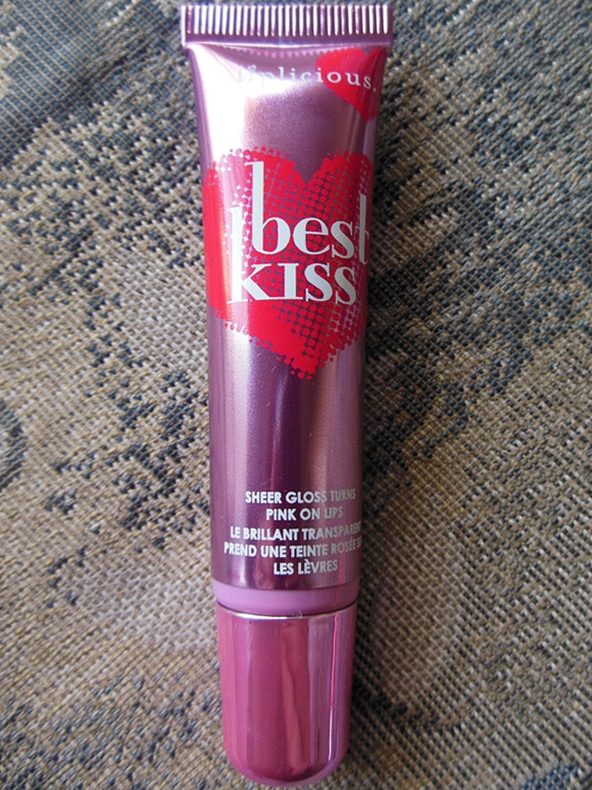
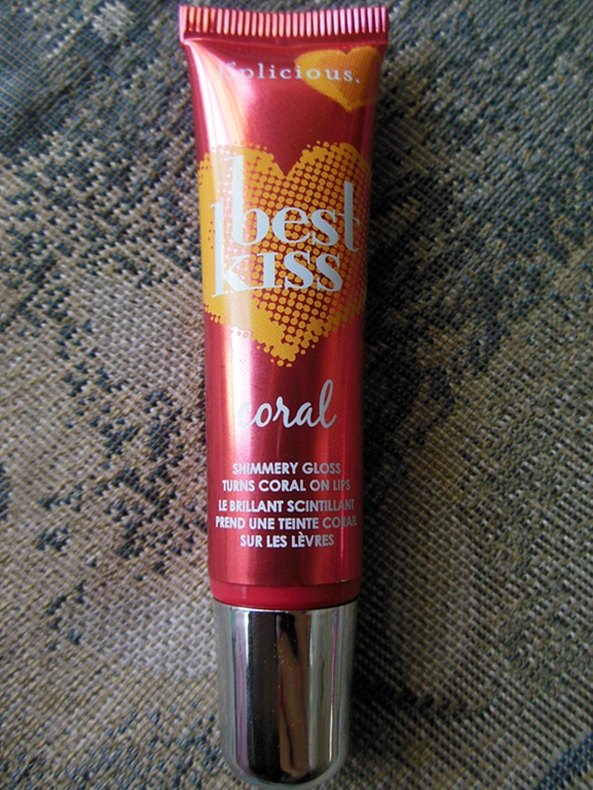
Liplicious Best Kiss Haul

I recently bought a set of colour changing lip glosses by Liplicious called Best Kiss from Bath & Body Works and I love them! I tried to take pictures of them but they didn't turn out true to colour so I'll have to try again another time, but I gotta post the haul pics!

The pink goes on totally clear, then turns to a beautiful neutral toned medium pink on the lips, and it smells like brown sugar. Sooo yummy and gorgeous! This is my current favourite brighter pink lip gloss, it looks bright but still natural. It stains the lips after several hours which also leaves a nice look.

Click here to see a FOTD where I'm wearing the pink Liplicious Best Kiss gloss.

The coral comes out clear with tiny gold shimmer, and then turns a warm orangey colour on the lips. This one I had the most trouble photographing, in pictures it looked just like the pink even though in real life it was definitely orange toned. I haven't tried it yet but I think this would look really great over nude lipstick. It smells like oranges!

The berry lip gloss is a red-toned purple shade, which comes out clear with tiny red shimmer - this shimmer also contributes to this berry shade leaning red, rather than too blue which could start to look a little corpse-like. This is a nice option if you like the idea of berry lips but not the intensity they usually have. Smells like berries :).

I'd recommend all of these! The set is at BBW for about $18 CAD, and last I saw you could just purchase the pink one for about $8.50, but the set is obviously a better deal. They have a nice texture on and a really good wear time, plus the fact that they all start to stain your lips is kind of nice, since even when they eventually do wear off (which I find takes a few hours) they leave the colour on your lips.

Tuesday, January 22, 2013

Review/Swatches: NYX Stick Blushes (Hibiscus, Pink Poppy, and Tulip)

Today I want to review a product that I am completely loving!

If you've been reading my blog for a little while you may recall I reviewed NYX Stick Blush in Hibiscus back in August, but since then I've gotten a couple other shades and I wanted to have one post where I sort of review the product in general, and pool all the swatches. I will probably end up with more shades of this in the future and when I do I'll be sure to swatch them!

These are nice and stiff in the tube, but they apply very smoothly and blend well. To get the best colour level I usually like to swipe it directly on my cheeks, blend with my fingers, and then repeat once or twice depending on how intense I want my blush to be for that particular look.

The longevity is really great, which is nice since that isn't always the case for cream formula blushes. They are also a great size, so they're easy to pack in your purse in case you're out for a very long time and eventually need a touch up.

ALSO - I need to talk about one of the hidden delights of these blushes. They make AWESOME lipsticks. Seriously! I like to pick up the product off the stick with my finger and then pat it on my lips. Pink Poppy especially looks gorgeous on the lips. It creates a really nice put together look to have neutral eyes and then the same shade on your cheeks and lips! And take it from someone with lips that tend to be as dry as the Sahara, these don't dry your lips out like you would think they might!

OK, enough talk though, let's get to the pictures!

 This is all three of the ones I currently own. As you can see, another awesome thing about these blushes is that the packaging is the same colour as the blush on the inside. Even right down to the details - Hibiscus and Tulip are non-shimmery, and so is their packaging. But Pink Poppy has very fine gold shimmer in it, and so does the packaging!
First let's focus on Hibiscus. This is a slightly darker beige toned pink blush with some peach tones. Out of the three it's the most neutral and most peachy type of colour. I wouldn't even really describe this one as overtly pink at all, more like peachy-nude.
Here's a shot of the product inside the package.
And here is a swatch. On the left is it swiped on, and on the right blended out.

Now let's look at Pink Poppy. Pink Poppy is a neutral pink shade with definite peachy tones, and a slight gold shimmer. Very, very pretty!
This picture I think actually shows the colour as a little pinker than it is, and I'm sure you can tell it looks more peachy in the package. It definitely looks like the colour in the package on the skin, and not as dark or "magenta" looking as the swatch on my skin. Camera must have been being funky or the lighting outside wasn't great or something!

Click here to see a FOTD where I'm wearing Pink Poppy on my cheeks.

Last but not least, let's see Tulip! Tulip is a cool toned pink, much more Barbie!
This swatch turned out the most colour accurate I think, although a little more intense than it appears in real life. It's not quite so vivid when you're wearing it on your face!

Overall, I LOVE these products! I have several more shades of this on my wishlist, and I definitely think you should check them out too!

Let me know if you have tried them and what you think!